Step 1: Create an AWS account
Go to AWS and create an account. After completing the multi-step signup process, you'll be redirected to the AWS Management Console.
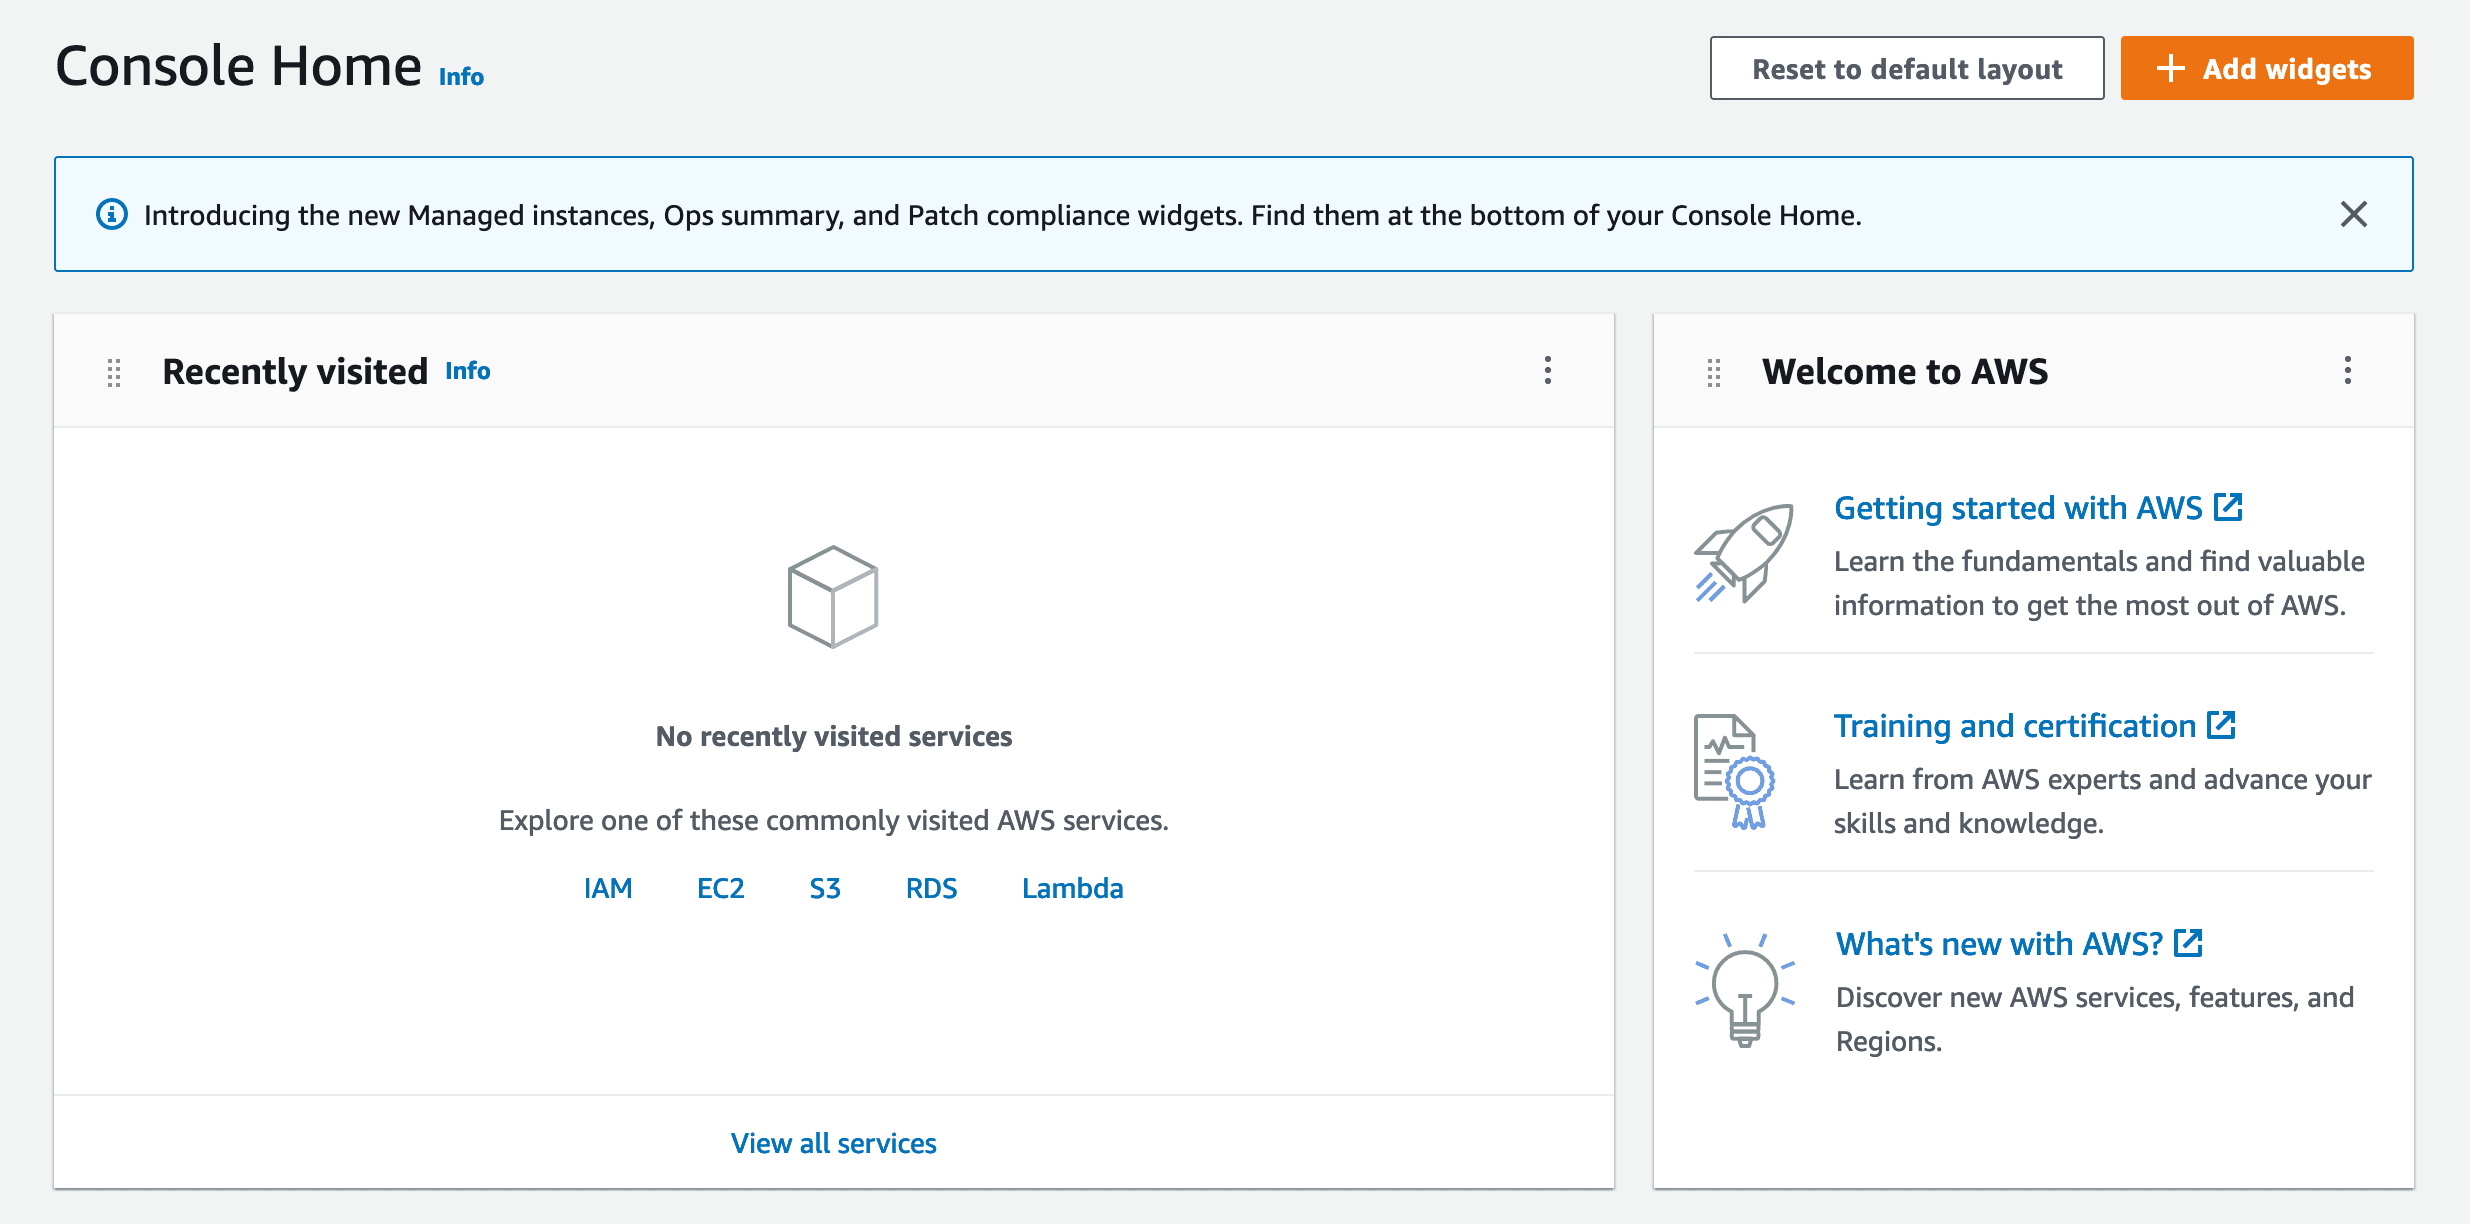
Step 2: Create an AWS Amplify app and connect it to your GitHub repository
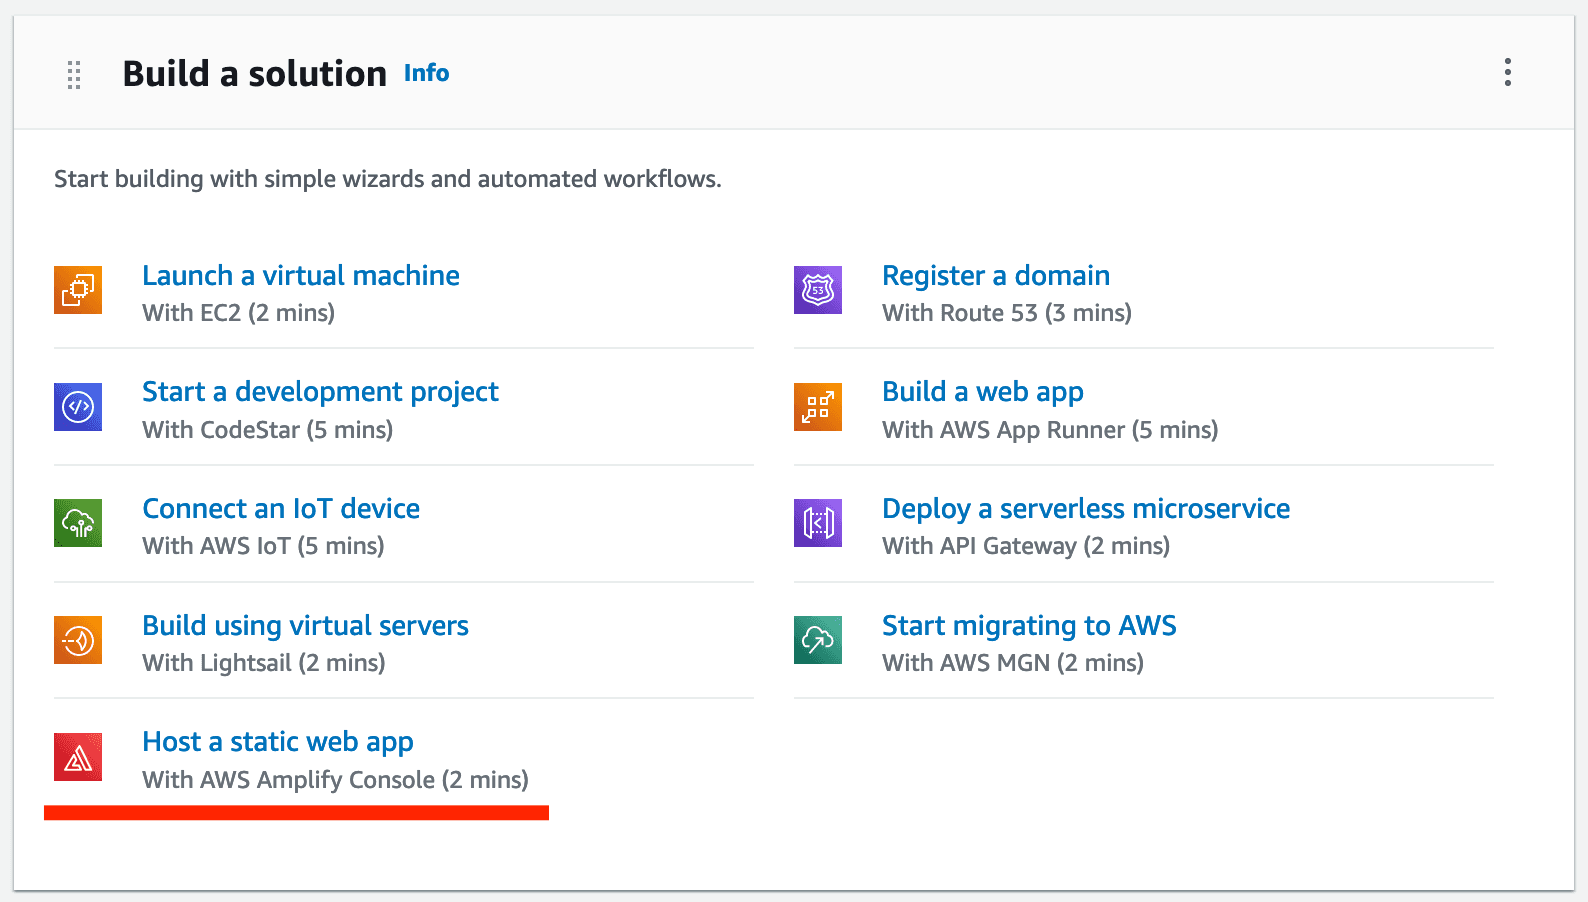
Scroll down to the "Build a solution" section and click on the "Host a static web app" option.
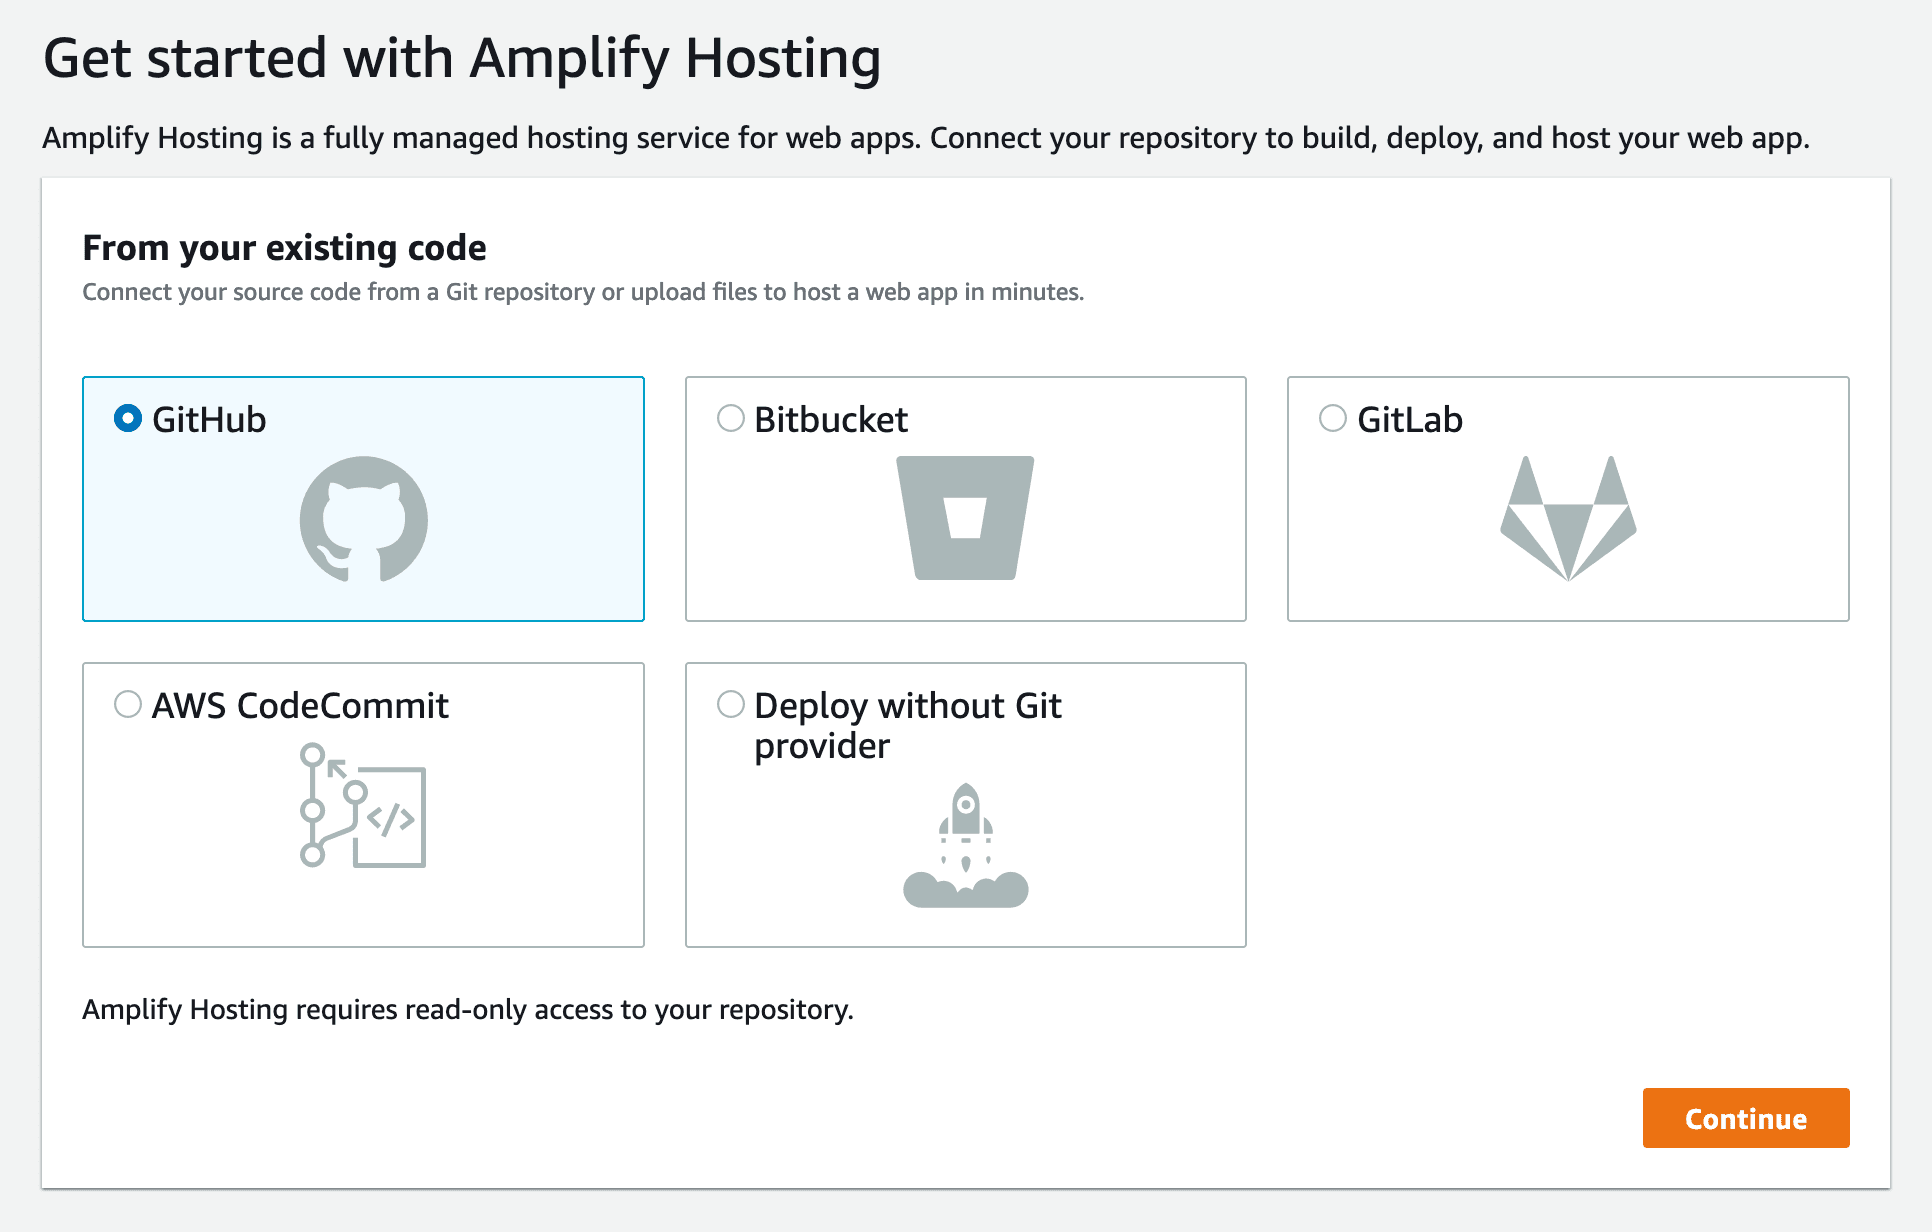
You will then be asked to connect the Git provider that you're using to host your code. Select the GitHub option and click "Continue".
Complete the GitHub authentication flow and grant AWS Amplify access to your GitHub account.
Step 3: Select your repository and configure build settings
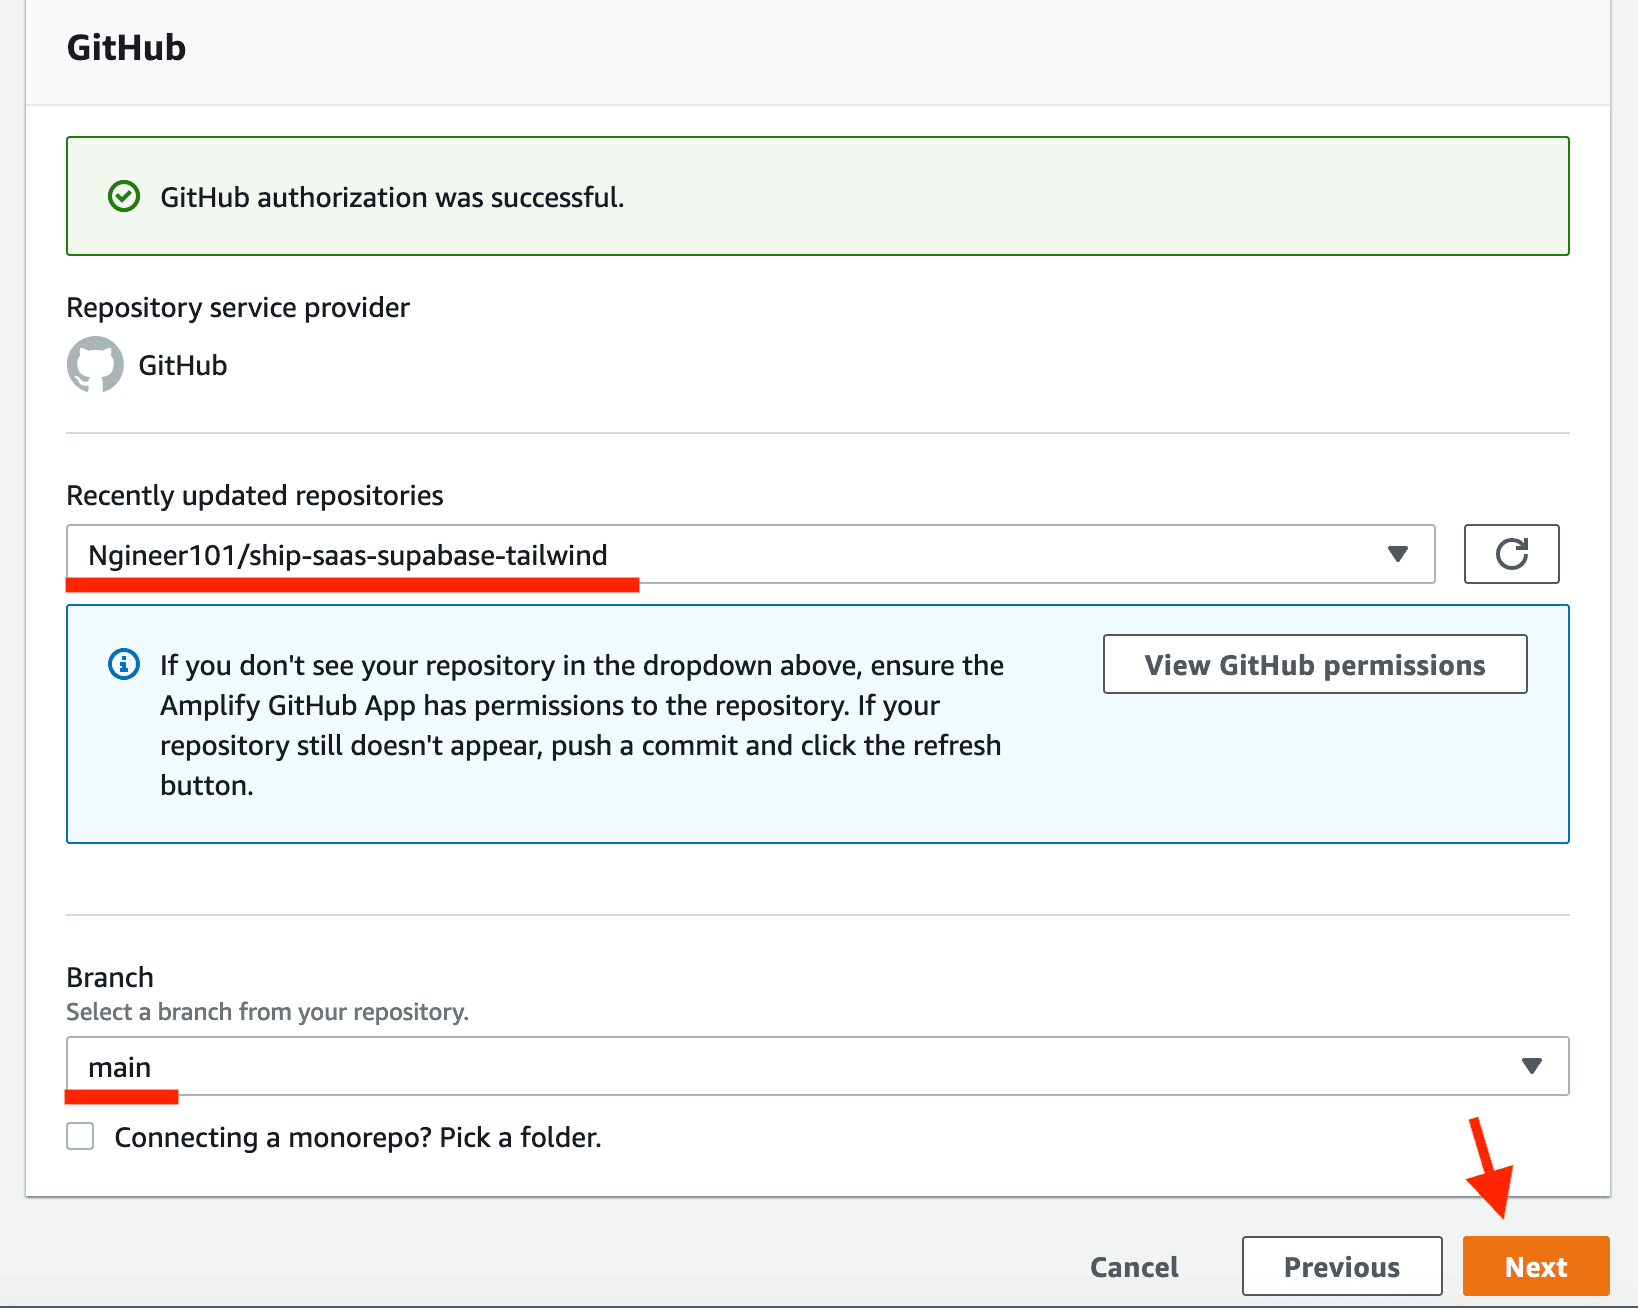
Once you have granted AWS Amplify access to your GitHub account, you will be redirected to a page where you can select the repository and branch name that you want to deploy. Select your repository and branch name and click "Next".
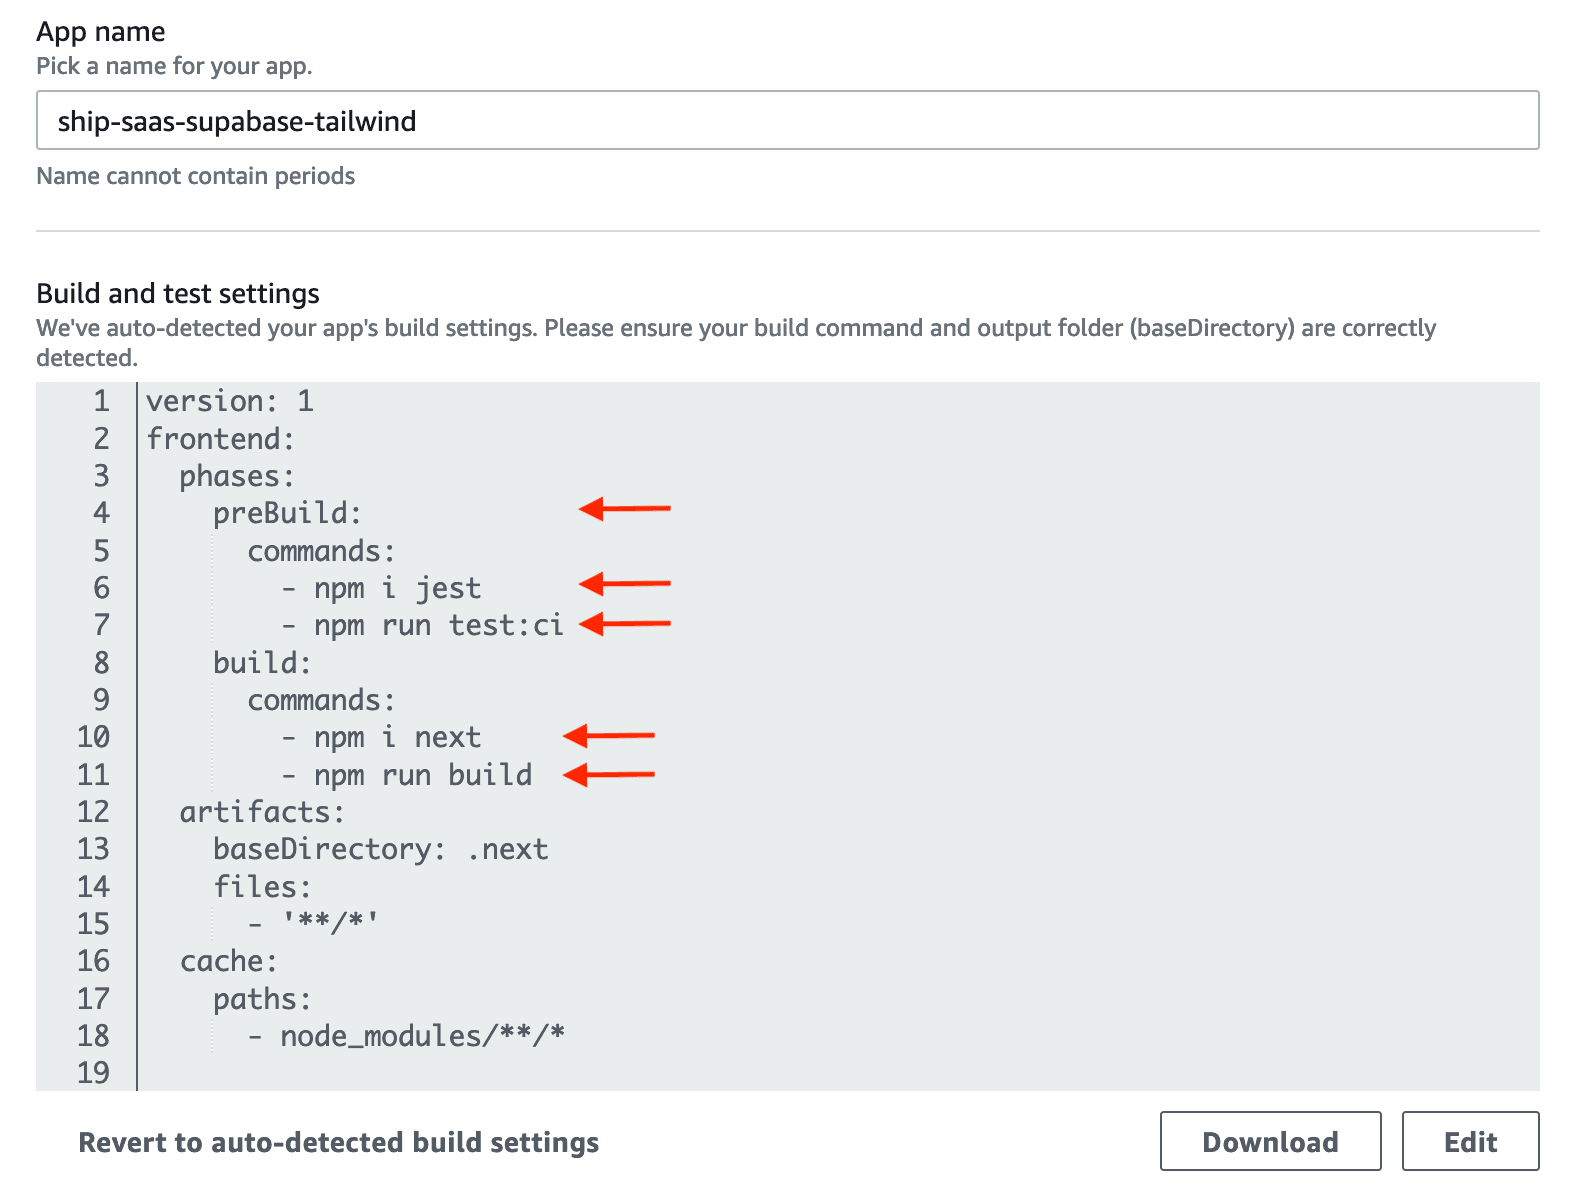
Now, you will be asked to configure the build settings for your app. If you want to run tests before deploying your app, add the "preBuild" steps as shown in the screenshot below. If you don't want to run tests, remove the entire "preBuild" section. Also, remember to add the npm i next line under the "build" section. This will ensure that the Next NPM package is installed before the build process starts.
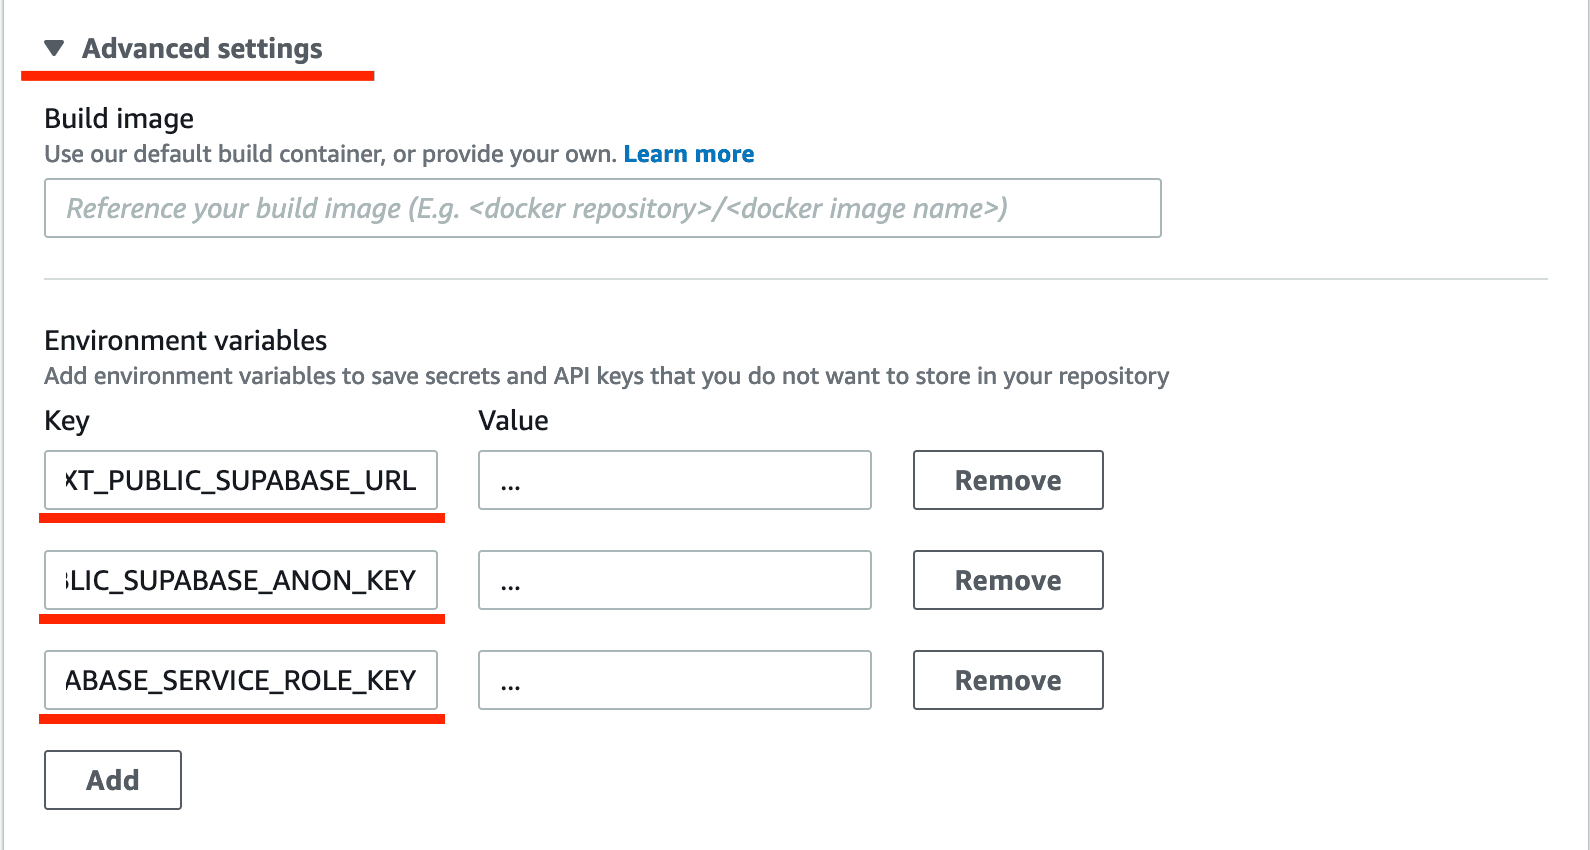
Then, scroll down and expand the "Advanced settings" section. In the "Environment variables" section, add all the required environment variables.
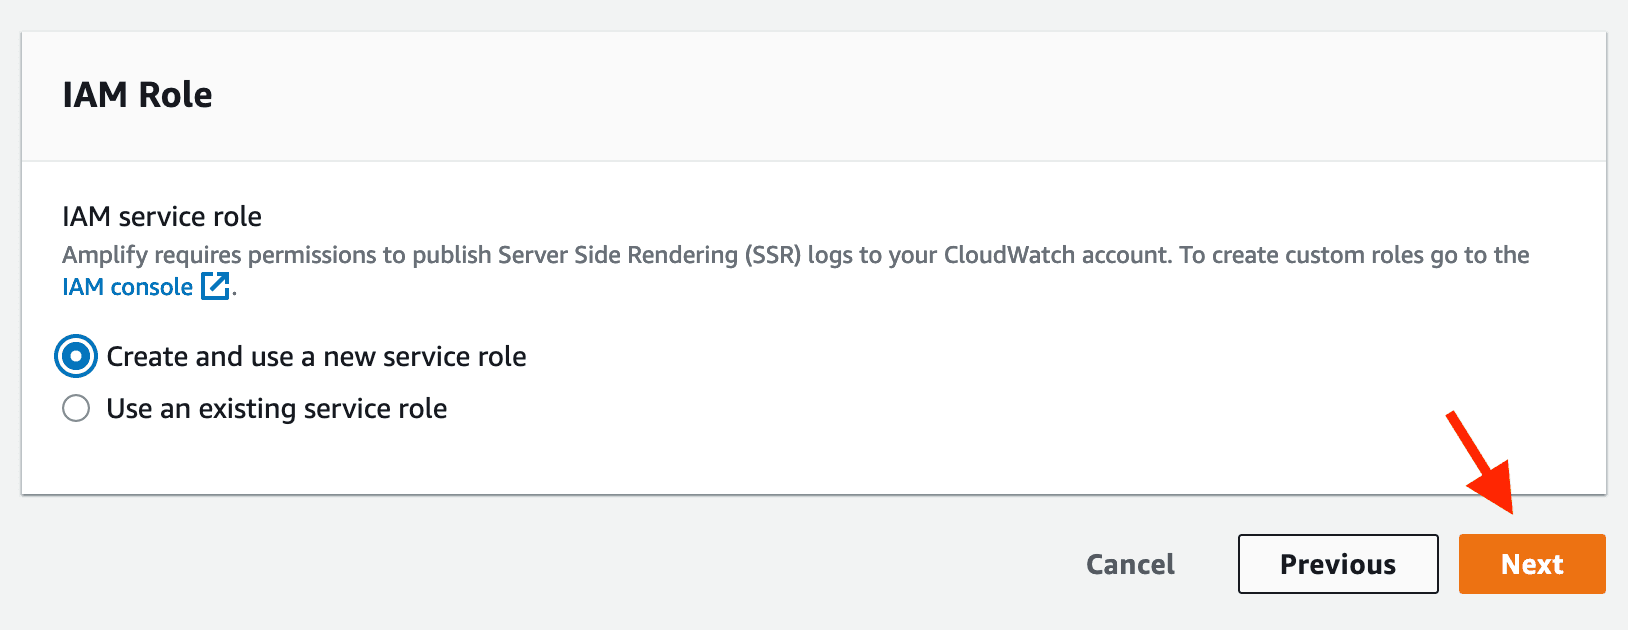
Once all your environment variables are added, click "Next" at the bottom of the page.
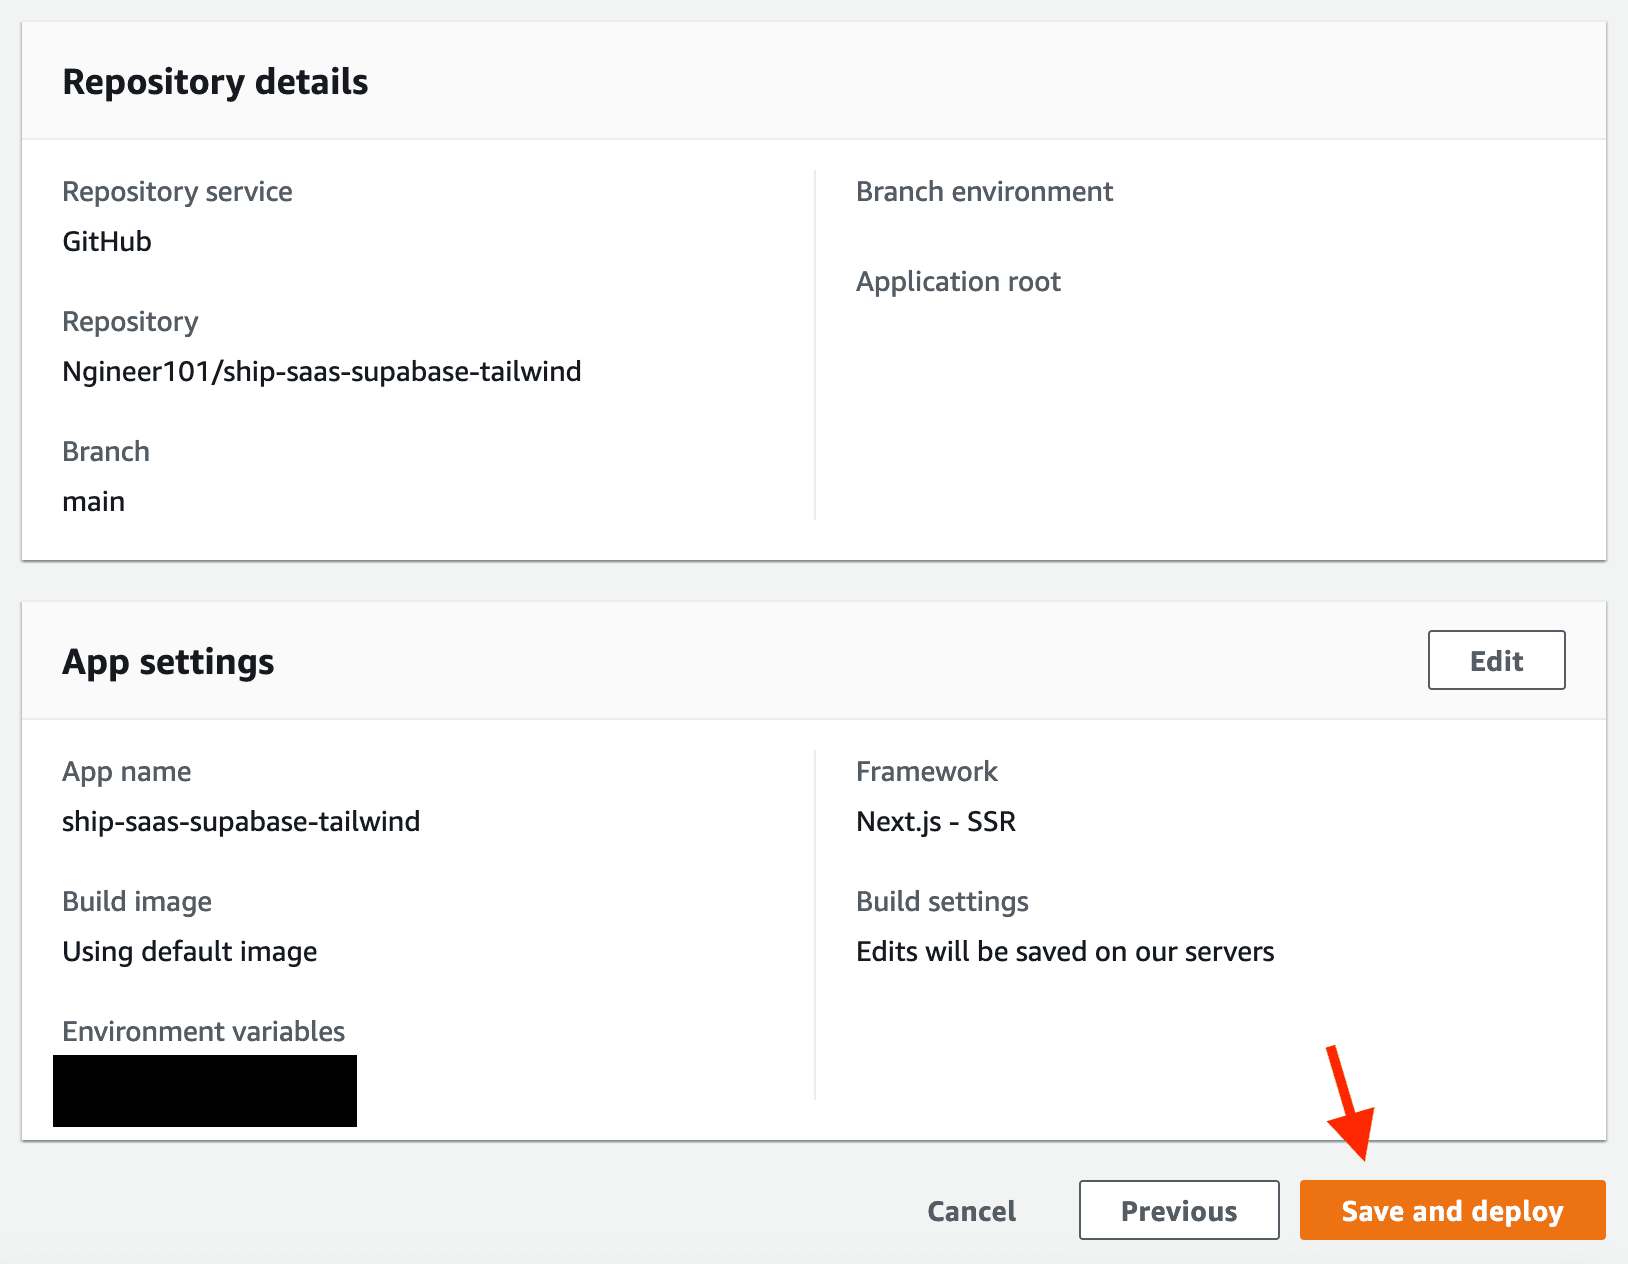
You'll then see an overview of all the settings that you've configured. Click "Save and deploy" to deploy your app.
Your deployment will be started and you'll see the build steps as they complete. Once the deployment is complete, you'll see the URL that was assigned to your app by AWS Amplify. Click the URL to open your app in a new tab.
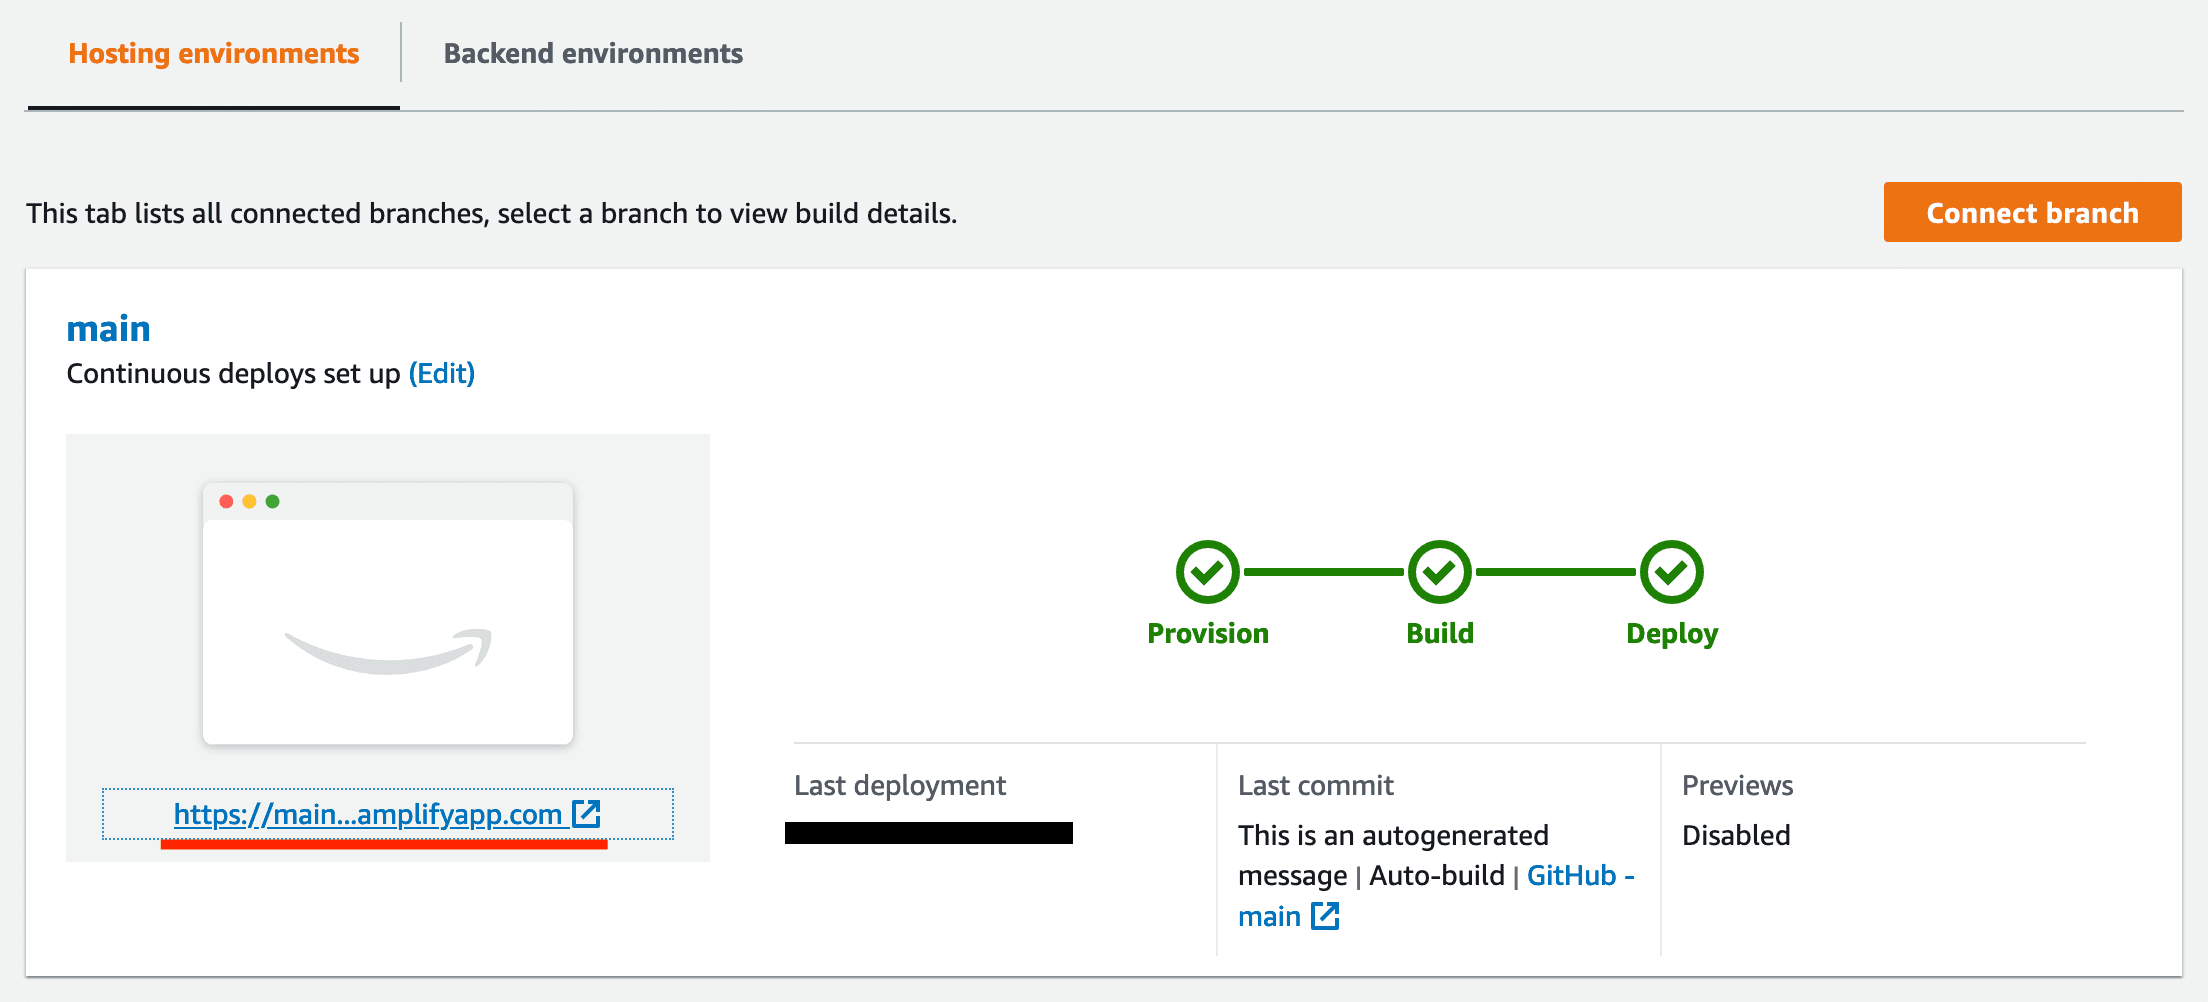
That's all you need to host your application on AWS Amplify. A new deployment will automatically be triggered for every commit to the branch that you selected previously.