- Published on
- Published:
- Reading time
- 8 min read
Running Your Next.js Build Locally: A Quick and Easy Tutorial
- Authors

- Name
- Nico Botha
- @nwbotha
If you've ever been stumped with the issue of running your Next.js builds on your local machine, then this article is a godsend for you.
As developers, we understand the importance of efficiency, and how local testing can greatly reduce the feedback loop for code changes.
Therefore, knowing how to run a Next.js build locally can tremendously boost our productivity.
In this tutorial, we’ll explore the step-by-step process to demystify any complexities that might seem intimidating at first.
We'll cover everything from setting up your development environment, running the build process, and troubleshooting common issues.
Whether you are a seasoned JavaScript developer wanting to expand your Next.js knowledge, or a beginner just getting your feet wet, this tutorial will provide you with the tools and knowledge to successfully and efficiently run your Next.js build locally.
Want to get your project up and running quickly? Check out our Next.js SaaS boilerplate.
Now, let’s jump in.
What is NextJS
Next.js is a robust open-source framework built on React, a popular JavaScript library for developing interactive user interfaces.
Next.js has grown in popularity among developers and businesses due to its out-of-the-box functionalities, great performance, and seamless developer experience.
Next.js makes it simple for developers to create modern, scalable online apps, such as static sites, server-rendered pages, and single-page applications, by providing a comprehensive development environment.
Next.js' focus on simplicity and developer productivity is one of its primary strengths. The framework automates several complex web development activities, including server-side rendering, static site building, and code splitting.
It also has built-in support for API routes, dynamic imports, and incremental static regeneration, all of which considerably speed up the development process.
As a result, Next.js has emerged as the go-to framework for developers seeking to build high-performance online applications with little configuration and setup.
To make your app publicly accessible you have to publish it somewhere. But, before you do that, you must develop your app somewhere.
For that, we usually use a local installation.
Setting Up Your Local Environment
To run your Next.js build locally, you'll first need to set up your local development environment. Here's what you need to do:
- Install Node.js: Next.js requires Node.js, so make sure you have the latest LTS version installed on your machine. If you already have installed NodeJS, make sure that it is updated to the latest stable version. You can download Node.js from the official website: **https://nodejs.org/**
- Install a package manager: Although Node.js comes with npm (Node Package Manager) by default, you can also use yarn, another popular package manager. This step is completely optional and you can work without yarn. But it seems that yarn is becoming the go-to package manager when it comes to JS developers. You can install yarn using the following command:
npm install -g yarn - Install Next.js: With Node.js and a package manager installed, you can now install Next.js globally using the command
npm install -g nextoryarn global add next, depending on your package manager preference.
This step is only done the first time. After this, every time you want to create your NextJS app, you can skip the above steps and immediately move to the next one.
Creating a Next.js Project
Before running your Next.js build locally, you'll need a Next.js project to work with. If you don't already have a project, you can create one using the following steps:
- Open your terminal or command prompt
- Navigate to the directory where you want to create your project
- Run the command
npx create-next-app your-app-nameoryarn create next-app your-app-nameto create a new Next.js project. - Change to your new project directory by running
cd your-app-name
NOTE: If you don’t want to create a new directory (let’s say you’ve created it using GUI) while creating a new NextJS app instead of running npx create-next-app your-app-name **** you can run npx create-next-app ./. This command, or its yarn counterpart, will create a new NextJS app in the current working directory.
Start Your App
To start creating your Next.js project locally, you must use the development server that comes with the framework.
This development server supports hot module replacement, which means you can see your changes in real-time without having to manually reload the page. It also gives an easy way to test your application locally before releasing it to production.
To serve your Next.js app, open your terminal or command prompt, and navigate to the root directory of your project.
Once there, run the command npm run dev or yarn dev, depending on your preferred package manager. This command will start the development server on a default port, usually 3000.
After the server has started, you can visit your Next.js app by going to http://localhost:3000 in your web browser. You may immediately start working on your project, making changes to the code and seeing the results in real-time in your browser.
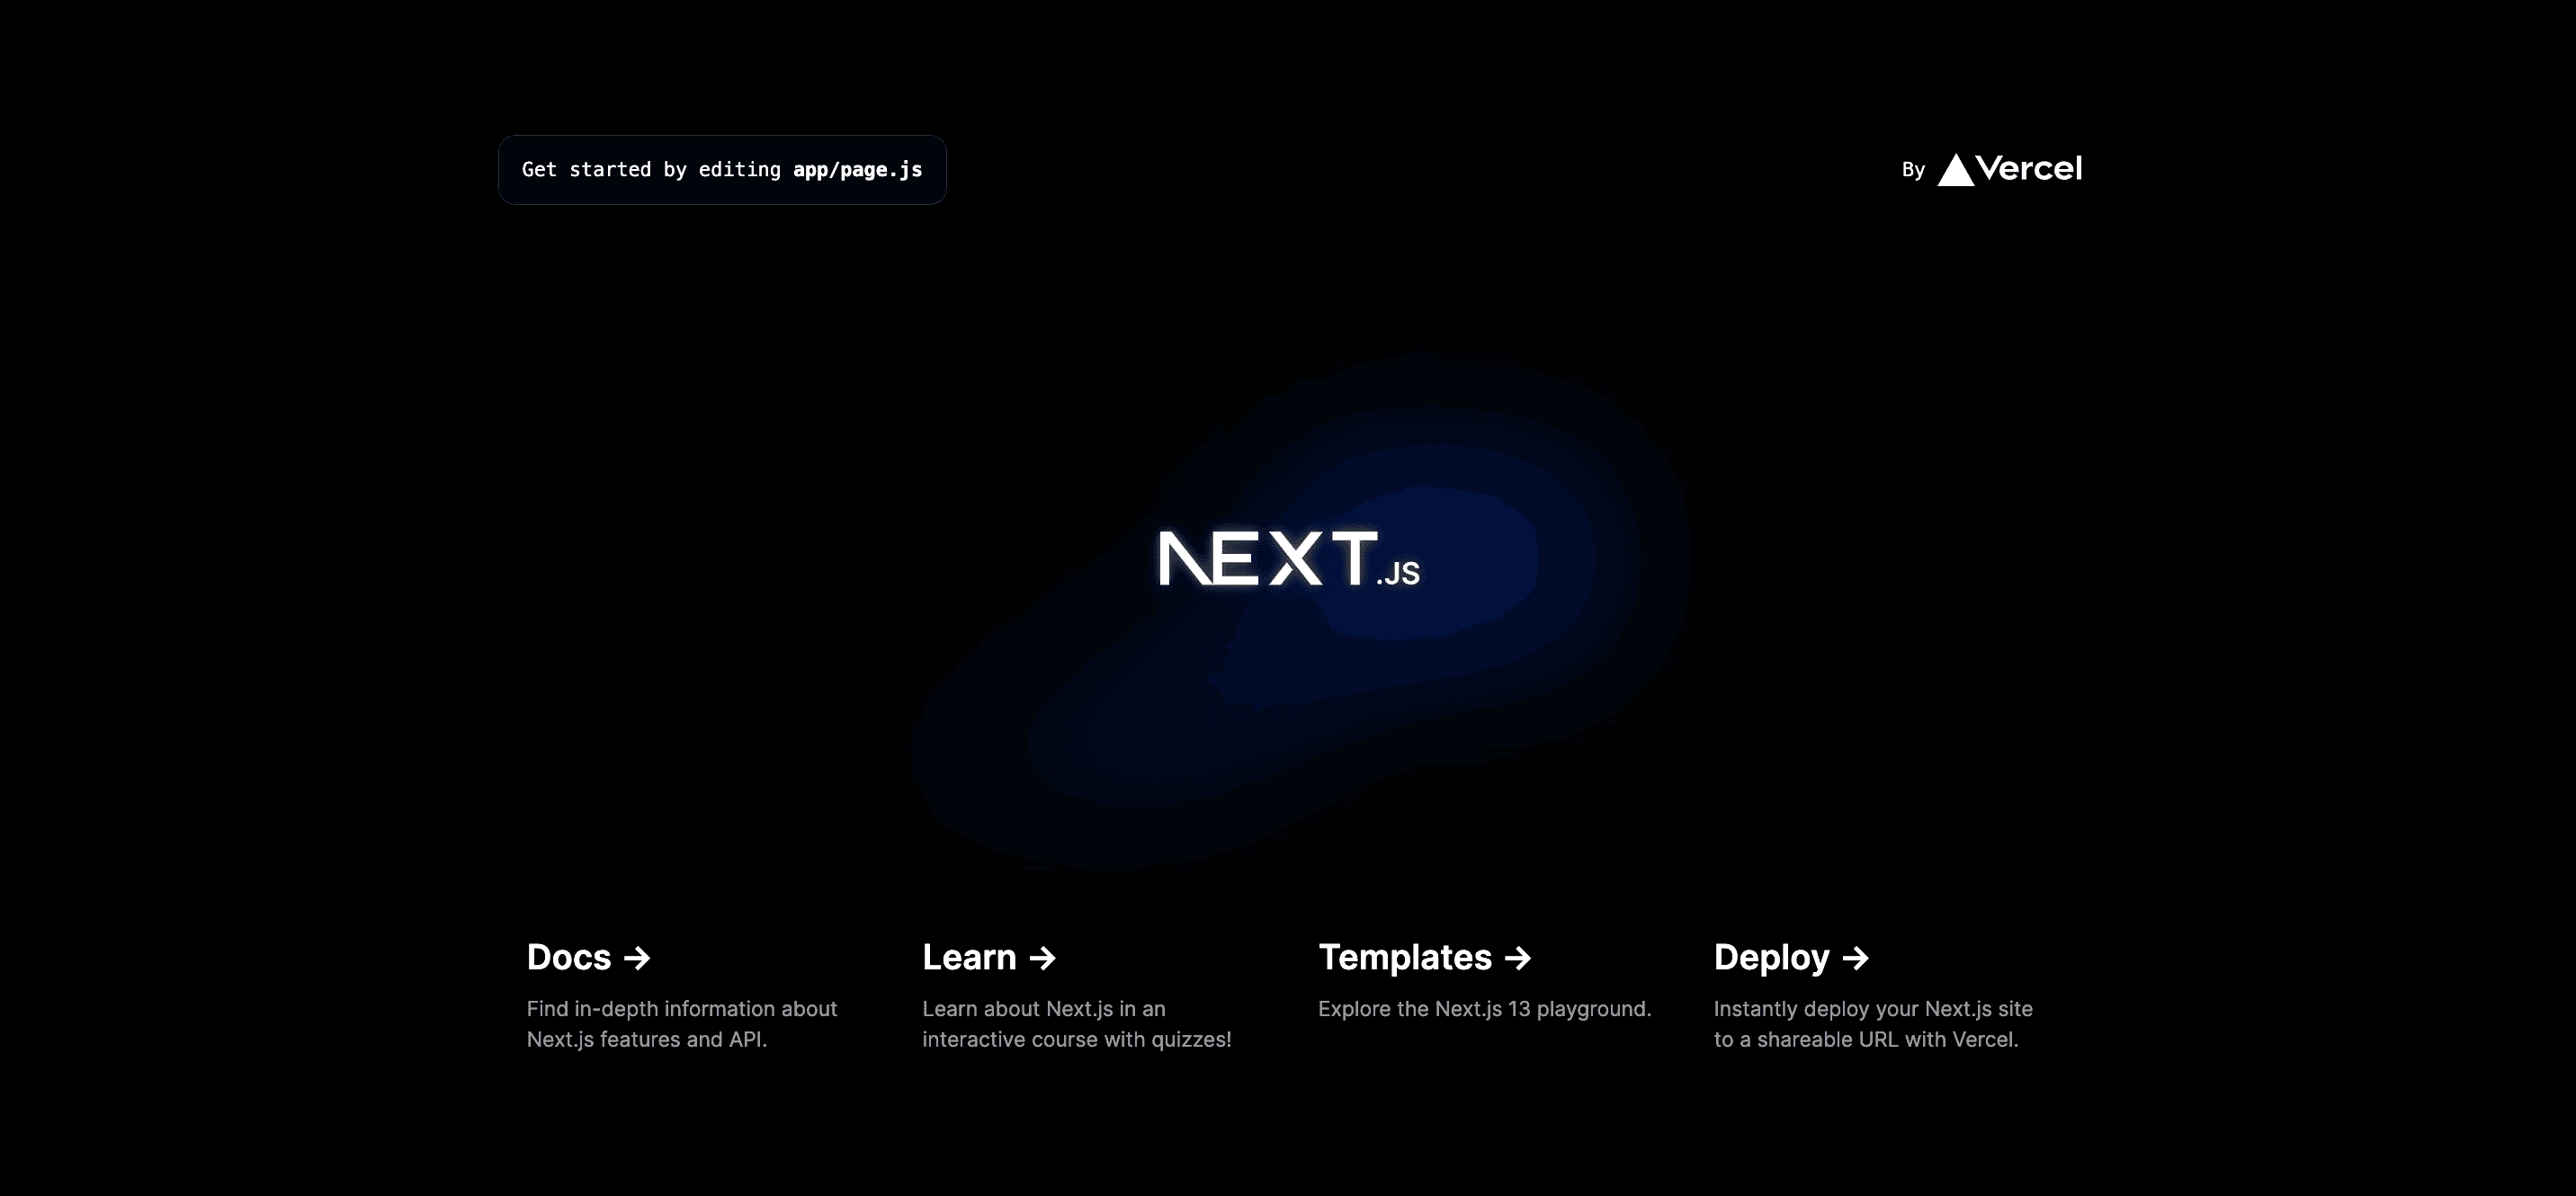
Starting page of a blank NextJS project
To stop the development server, simply press Ctrl+C in your terminal or command prompt.
Building Your Next.js Project
Now that you have your local environment set up and a Next.js project ready, you can build your project using the following steps:
- Inside your project directory, open the
package.jsonfile and add a new script called "build":"build": "next build", if it doesn’t already exist. - Save the
package.jsonfile - Run the build script using the command
npm run buildoryarn build
This command will generate a .next directory containing the optimized build output for your Next.js project.
npm run build will take all your code and turn it into a highly optimized app. This means that anything that can be pre-built and pre-cached will be. This is what makes NextJS so fast.
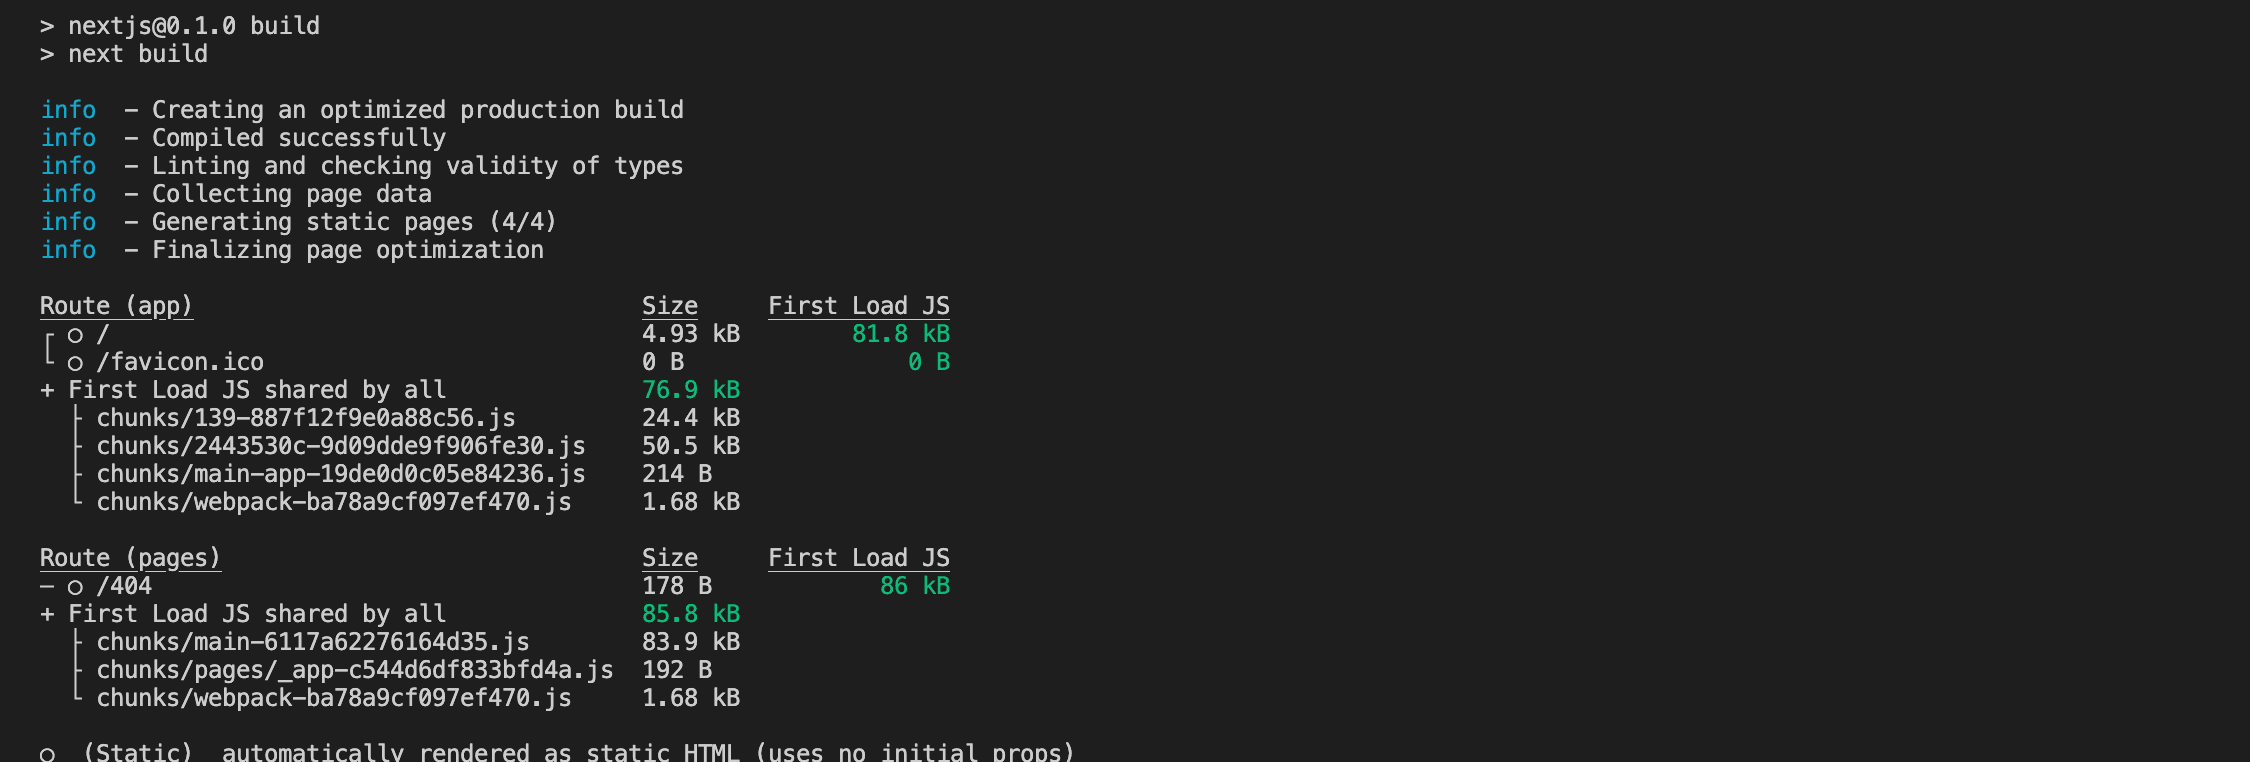
This is something you should see after you run npm run build
This build output is what you'll run locally in the next step.
Running Your Next.js Build Locally
With your Next.js build generated, you can now run it locally using a development server. Here's how:
- Inside your project directory, add a new script to your
package.jsonfile called "start":"start": "next start", if it doesn’t already exist. - Save the
package.jsonfile - Run the start script using the command
npm run startoryarn start
The start command will start a local server and serve your Next.js build output from the .next directory. You should see a message in your terminal or command prompt indicating the URL where your build is running, typically http://localhost:3000.
Testing Your Next.js Build in Your Browser
With your Next.js build running locally, you can now test it in your browser:
- Open your preferred web browser
- Navigate to the URL provided by the
startcommand, usually http://localhost:3000 - You should see your Next.js app running locally, and you can interact with it just like you would with a live deployment
Explore your app, test its functionality, and ensure that everything works as planned. Running your Next.js build locally is a great approach to discovering any issues before sending your project to production.
Debugging Your Next.js Build
If you experience problems while executing your Next.js build locally, you must understand how to debug them efficiently. Here are some pointers to help you recognize and handle typical issues:
- Check your browser's developer console for error messages or warnings that may provide clues about the issue
- Review the terminal or command prompt output for any error messages or stack traces
- Ensure that all dependencies are installed and up to date by running
npm installoryarn install - Verify that your build configuration in
next.config.js(if present) is correct and compatible with your local environment
Following these debugging methods will allow you to rapidly detect and fix errors in your Next.js build, resulting in a more pleasant local testing experience.
Conclusion
Running your Next.js build locally is an important skill for developers who want to test and debug their web applications before sending them to a production environment.
This detailed guide demonstrated how to execute a Next.js build locally by configuring your environment, creating a project, building the project, running it on a local server, and testing it in your browser.
By following these procedures, you can test your Next.js apps with confidence and guarantee that they are ready for deployment.
So the next time you need to know how to execute a Next.js build locally, refer to this quick and straightforward instruction for a smooth local testing experience.
Want to get your project up and going ASAP? Get started today.