- Published on
- Published:
- Reading time
- 11 min read
Get started with Next.js and Supabase - Part 2
- Authors

- Name
- Nico Botha
- @nwbotha
This is the second blog post in a series of blog posts about getting started with Next.js and Supabase. It is recommended to read the first post about creating a basic CRUD app before reading this post.
What is Next.js?
Next.js is an open source React framework that makes statically and server-side rendered pages possible in your app. Where traditional React apps are rendered entirely in the browser, Next.js makes it possible to render pages server-side. This improves page speed and reduces bundle size significantly. You can read more about this powerful framework here.
What is Supabase?
Supabase is an open source Firebase alternative. With a PostgreSQL database, various authentication options, object storage, and cloud functions (coming soon) it is the easiest "backend-as-a-service" to get started with when building a SaaS. You can read more about this popular platform here.
How to add authentication
For the purpose of this blog post we'll re-use the same demo repository used in the previous blog post. The setup steps of the Next.js and Supabase project will be skipped in this post.
Supabase supports a range of authentication methods. From traditional email/password auth, to magic links and mobile one-time-pins, and various social media platforms (e.g. Google, Facebook, Twitter, and many more). In this post, we will configure and implement traditional email/password and magic link authentication.
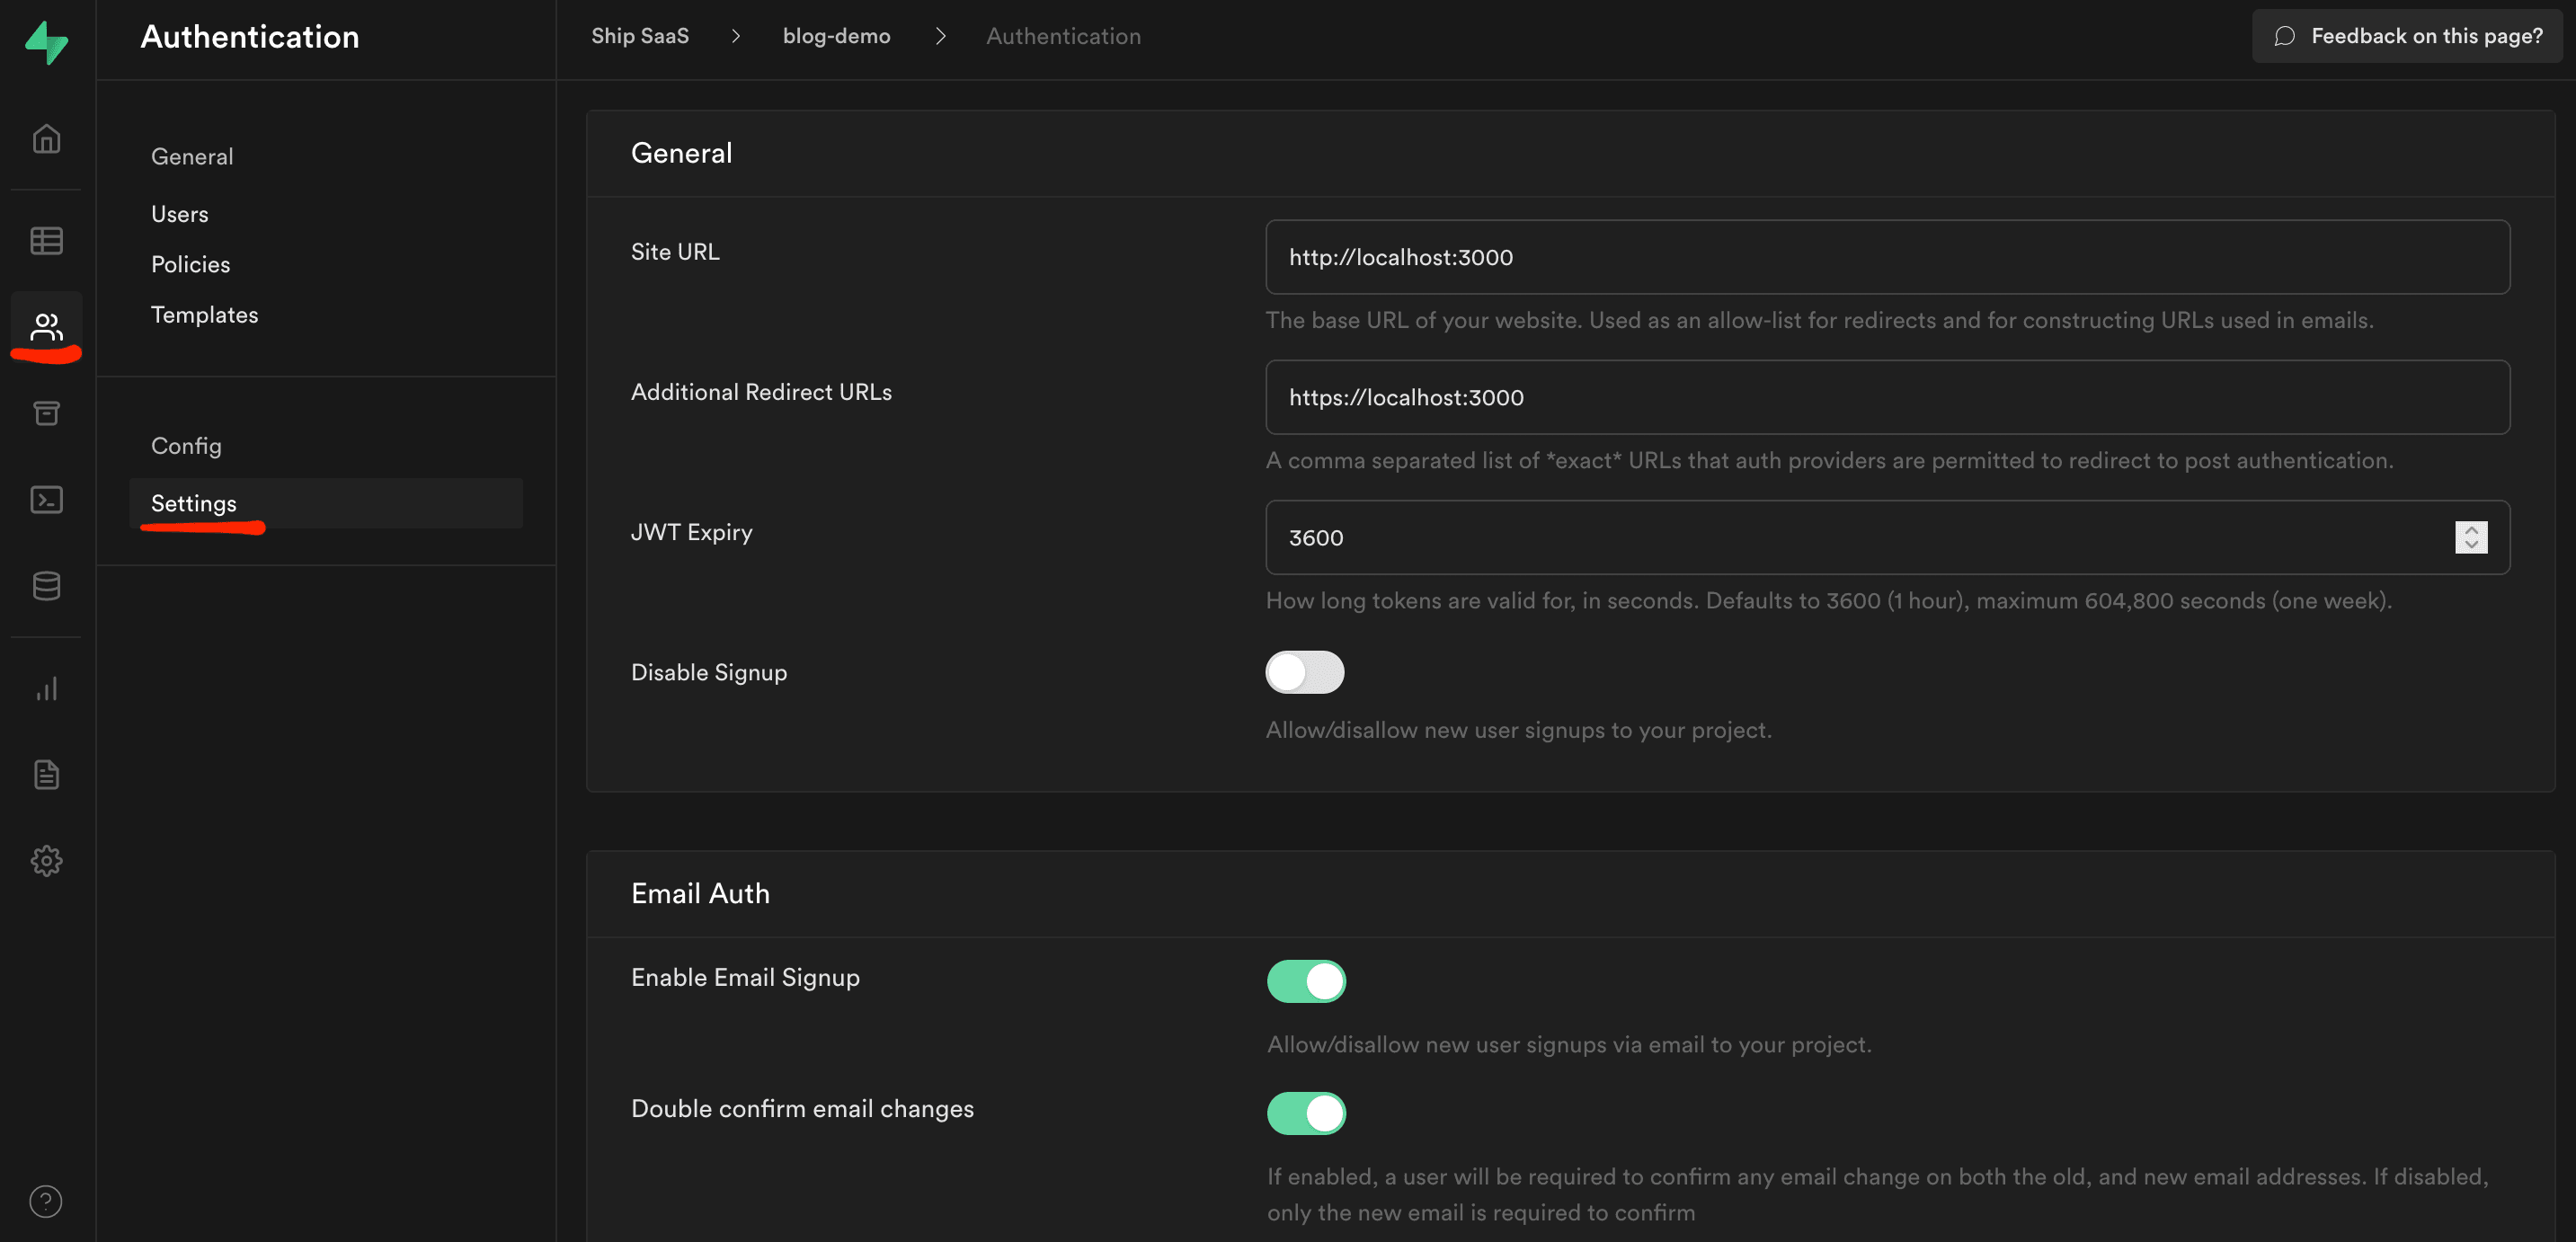
Update auth settings on Supabase
First, it is necessary to configure some auth settings on Supabase. Navigate to the auth settings page of your Supabase project.
Set the "Site URL" value to the URL of your project. Since this project is run locally, we'll keep it at http://localhost:3000. Once you go live, you should change this value to the URL of your deployed site. If you want to redirect a user to a specific URL after sign in, you should also add the exact URL in the "Additional Redirect URLs" field. It is possible to add a comma-separated list of URLs in this field. Add every URL that you intend to redirect a user to.
For instance, if you want to redirect some users to http://localhost:3000/onboarding and others to http://localhost:3000/dashboard after sign in, add http://localhost:3000/onboarding,http://localhost:3000/dashboard in the "Additional Redirect URLs" field.
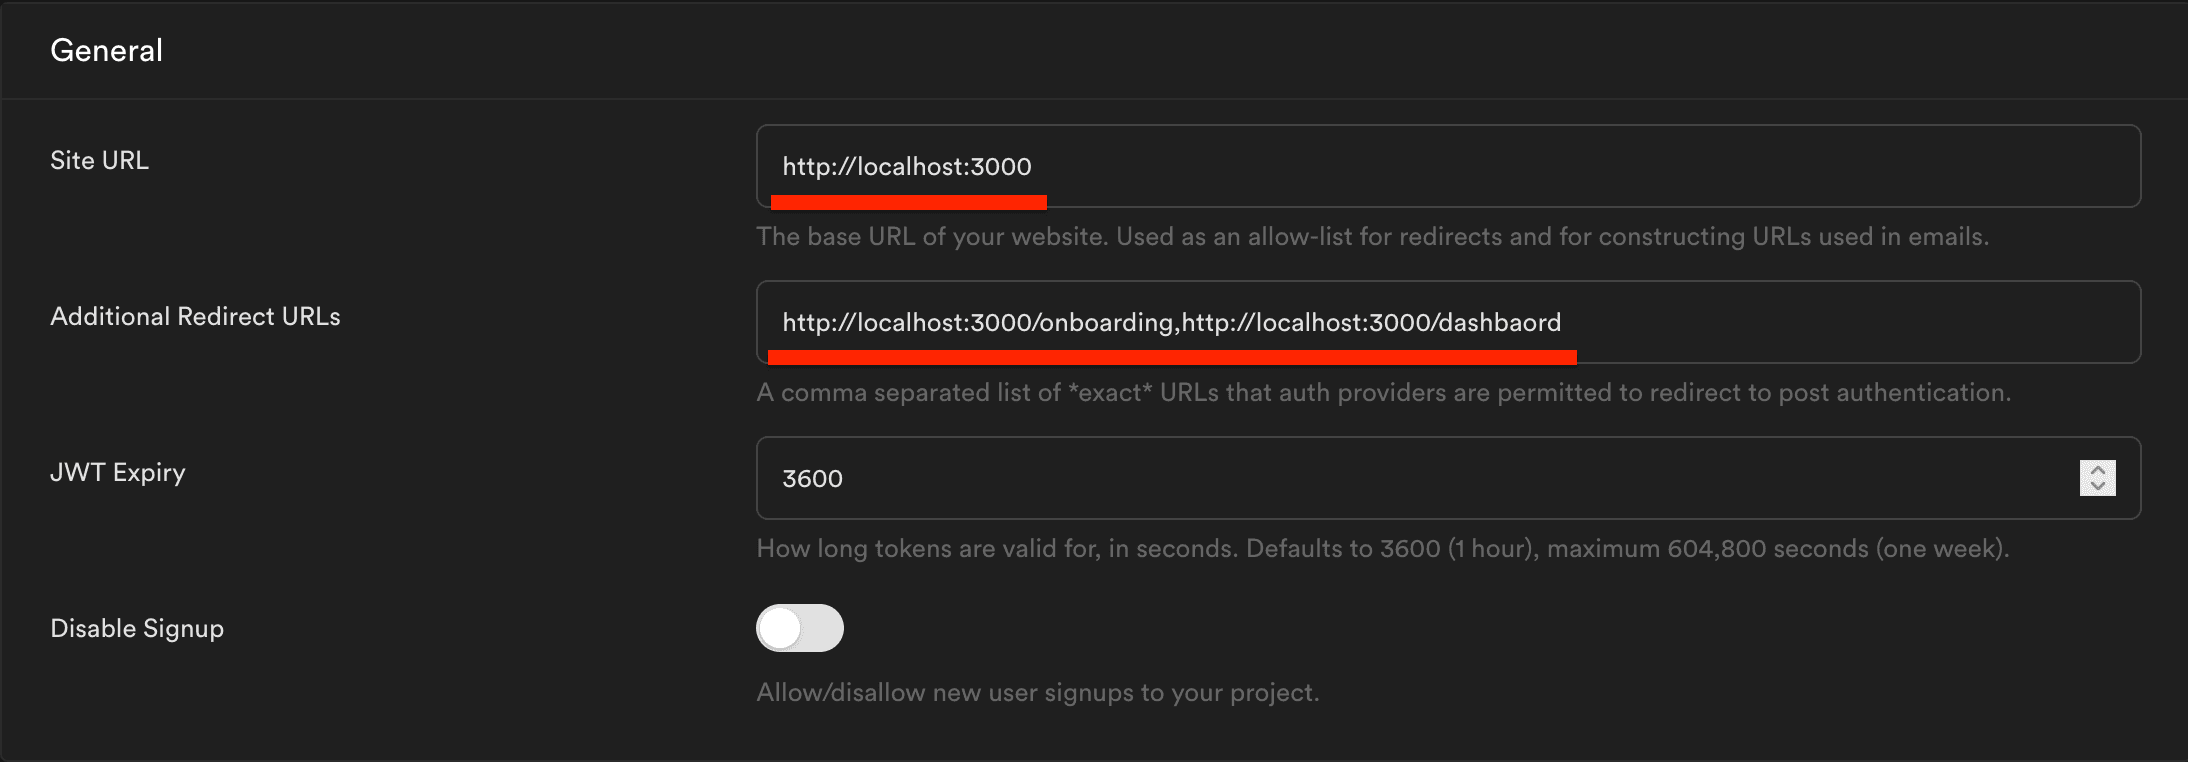
It is optional to change the rest of the settings. The default "JWT Expiry" value is 3600 seconds (i.e. 1 hour). Email sign up and email confirmations are also enabled by default. To avoid spam, don't disable the email confirmations.
Add signin and signup pages
After you configured these basic settings on Supabase, it is possible to add the JavaScript code to authenticate users in your application. To allow users to sign up and sign into your application, add 2 pages in your Next.js app:
signup.jssignin.js
The signup and signin pages both contain a basic <form> element that allows a user to enter an email and password. The <form> element can be extracted into a separate component to allow for re-use on both pages.
The auth-form.js component looks like this:
export default function AuthForm({
  email,
  onEmailChange,
  password,
  onPasswordChange,
  onSubmit
}) {
  return (
    <form onSubmit={onSubmit}>
      <label>Email
        <input
          name='email'
          type='email'
          value={email}
          placeholder='Email'
          onChange={onEmailChange}
        />
      </label>

      <label>Password
        <input
          name='password'
          type='password'
          value={password}
          placeholder='Password'
          onChange={onPasswordChange}
        />
      </label>

      <button type='submit'>Submit</button>
    </form>
  )
}
When a user submits the signup form, they will be signed up using the chosen email and password. The following code can be used to sign up using an email and password:
const { data, error } = await supabase.auth.signUp({
  email,
  password,
})
If the signup is successful, the user will receive an email containing an email verification link. A user has to verify their email by clicking on this link before they are able to sign into the application.
Once a user has verified their email, they will be signed in. The signIn() function is similar to the signUp() function. The following code can be used to sign in with an email and password:
const { data, error } = await supabase.auth.signIn({
  email,
  password,
})
If the signin is successful a Session object is returned.
To sign in with a magic link, the same signIn() function can be used, but without the password value. Using the following code, an email containing the magic link will be sent to the user:
const { data, error } = await supabase.auth.signIn({
  email,
})
Once the user clicks the link in the email they will be redirected back to your site and will be signed in.
Add ContextProvider to access auth state anywhere in your app
To persist the authentication state and make the session data available throughout the entire application, it is necessary to create a React Context. Context provides a way in React to pass data through the component tree without having to manually pass data to each component. This Context data is shared "globally" in your React app. To read more about the technical details of React Context check out the official React docs.
In the Context an auth listener is configured that subscribes to authentication state changes in the application. Whenever a user signs in or out an event will be fired. The Supabase API provides a subscription object that can be used to subscribe to these auth events.
Create a file called user-context.js and add the following code:
// Create user context
export const UserContext = createContext(null);

// UserContextProvider is the parent element of the entire application
export function UserContextProvider(props) {
  const [session, setSession] = useState(null)

  useEffect(() => {

    // get session for user
    const session = supabase.auth.session();
    setSession(session);

    // configure the auth state listener
    // if the auth state changes the session will be updated
    // and a POST request will be made to the /api/auth route
    const { data: authListener } = supabase.auth.onAuthStateChange(async (event, session) => {
      setSession(session)
      await fetch('/api/auth', {
        method: 'POST',
        body: JSON.stringify({ event, session }),
        headers: {
          'Content-Type': 'application/json'
        }
      })
    });

    return () => {
      authListener?.unsubscribe();
    };
  }, []);

  const value = {
    session,
  };

  return <UserContext.Provider value={value} {...props} />;
};

// hook that can be used to get the session data
export function useSession() {
  const context = useContext(UserContext);
  return context;
};
To persist the authentication state between pages a cookie containing the Supabase access token should be created. To create the sb:token cookie it is necessary to create an /api/auth route. A POST request will be made to this route when the authentication state changes (see code above). Create an auth.js Next.js API route in the pages/api/ directory. This function will create or delete the sb:token cookie whenever the auth state of a user changes.
The auth.js API route looks like this:
import { supabase } from '../../supabase-client'

export default function AuthHandler(req, res) {
  supabase.auth.api.setAuthCookie(req, res)
}
Finally, wrap the entire application with the UserContextProvider. This can be done by updating the _app.js file:
function MyApp({ Component, pageProps }) {
  return (
    <UserContextProvider> {/* Add this line */}
      <Component {...pageProps} />
    </UserContextProvider> {/* Add this line */}
  )
}

export default MyApp
Now, the useSession() hook can be used to check the authentication state of a user client-side. If the Session data is returned the user is authenticated, otherwise a user is not authenticated.
const { session } = useSession()
Check authentication server-side
For this demo app, the bikes are queried server side before the page is rendered. To check server-side whether a user is authenticated, the getServerSideProps function can be refactored like this:
export const getServerSideProps = async (context) => {
  // get the user using the "sb:token" cookie
  // if a user is not authenticated, redirect to the signin page
  const { user } = supabase.auth.api.getUserByCookie(context.req);
  if (!user) {
    return {
      redirect: {
        destination: '/signin',
        permanent: false,
      }
    }
  }

  // Query all bikes
  const { data: bikes, error } = await supabase.from('bikes').select();

  if (error) {
    // Return 404 response.
    // No bikes found or something went wrong with the query
    return {
      notFound: true,
    }
  }

  return {
    props: {
      bikes,
    }
  }
}
When the page is requested, the user data is read from the sb:token cookie. If no user data is returned (in case of an invalid token), then redirect the user to the signin page. Otherwise, query the bikes and render the page. To read more about creating a generic protected route in Next.js check out this blog post.
Supabase supports a wide range of third-party OAuth providers. These are too many to cover in a single blog post, but the auth flow is more or less similar to magic link authentication. Check out the official Supabase docs for configuring third-party logins.
To view the code of the entire demo app check out this repository. If you want to learn more about Supabase you can check out the official Supabase docs.