- Published on
- Published:
- Reading time
- 15 min read
Get started with Next.js and Supabase - Part 1
- Authors

- Name
- Nico Botha
- @nwbotha
What is Next.js?
Next.js is an open source React framework that makes statically and server-side rendered pages possible in your app. Where traditional React apps are rendered entirely in the browser, Next.js makes it possible to render pages server-side. This improves page speed and reduces bundle size significantly. You can read more about this powerful framework here.
What is Supabase?
Supabase is an open source Firebase alternative. With a PostgreSQL database, various authentication options, object storage, and cloud functions (coming soon) it is the easiest "backend-as-a-service" to get started with when building a SaaS. You can read more about this popular platform here.
How to build a basic CRUD app
To get started with building your app 2 actions are required.
- Create a new Next.js project by running the following command in your terminal:
npx create-next-app nextjs-supabase-crud
Then install the Supabase JavaScript NPM package using the following command:
npm install @supabase/supabase-js
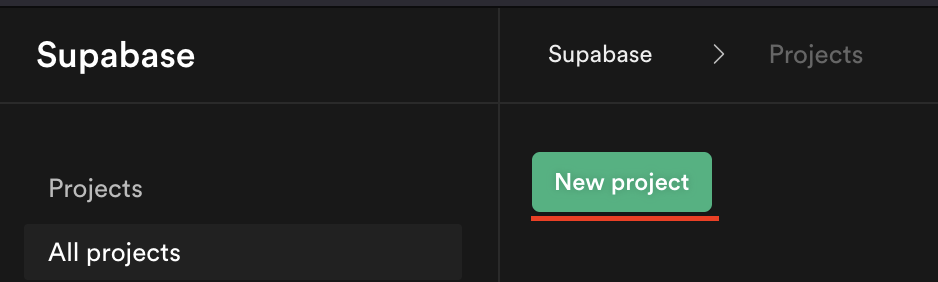
- Create a free Supabase account on supabase.io. Once you are signed up, create a new project by clicking the big green "New project" button.
After you have created your Next.js project and Supabase account and project, it is necessary to create a database table on Supabase. For the purpose of this blog post, we are going to create a simple table to create, read, update, and delete bikes.
Navigate to the SQL page on Supabase and click the "Create table" tile.
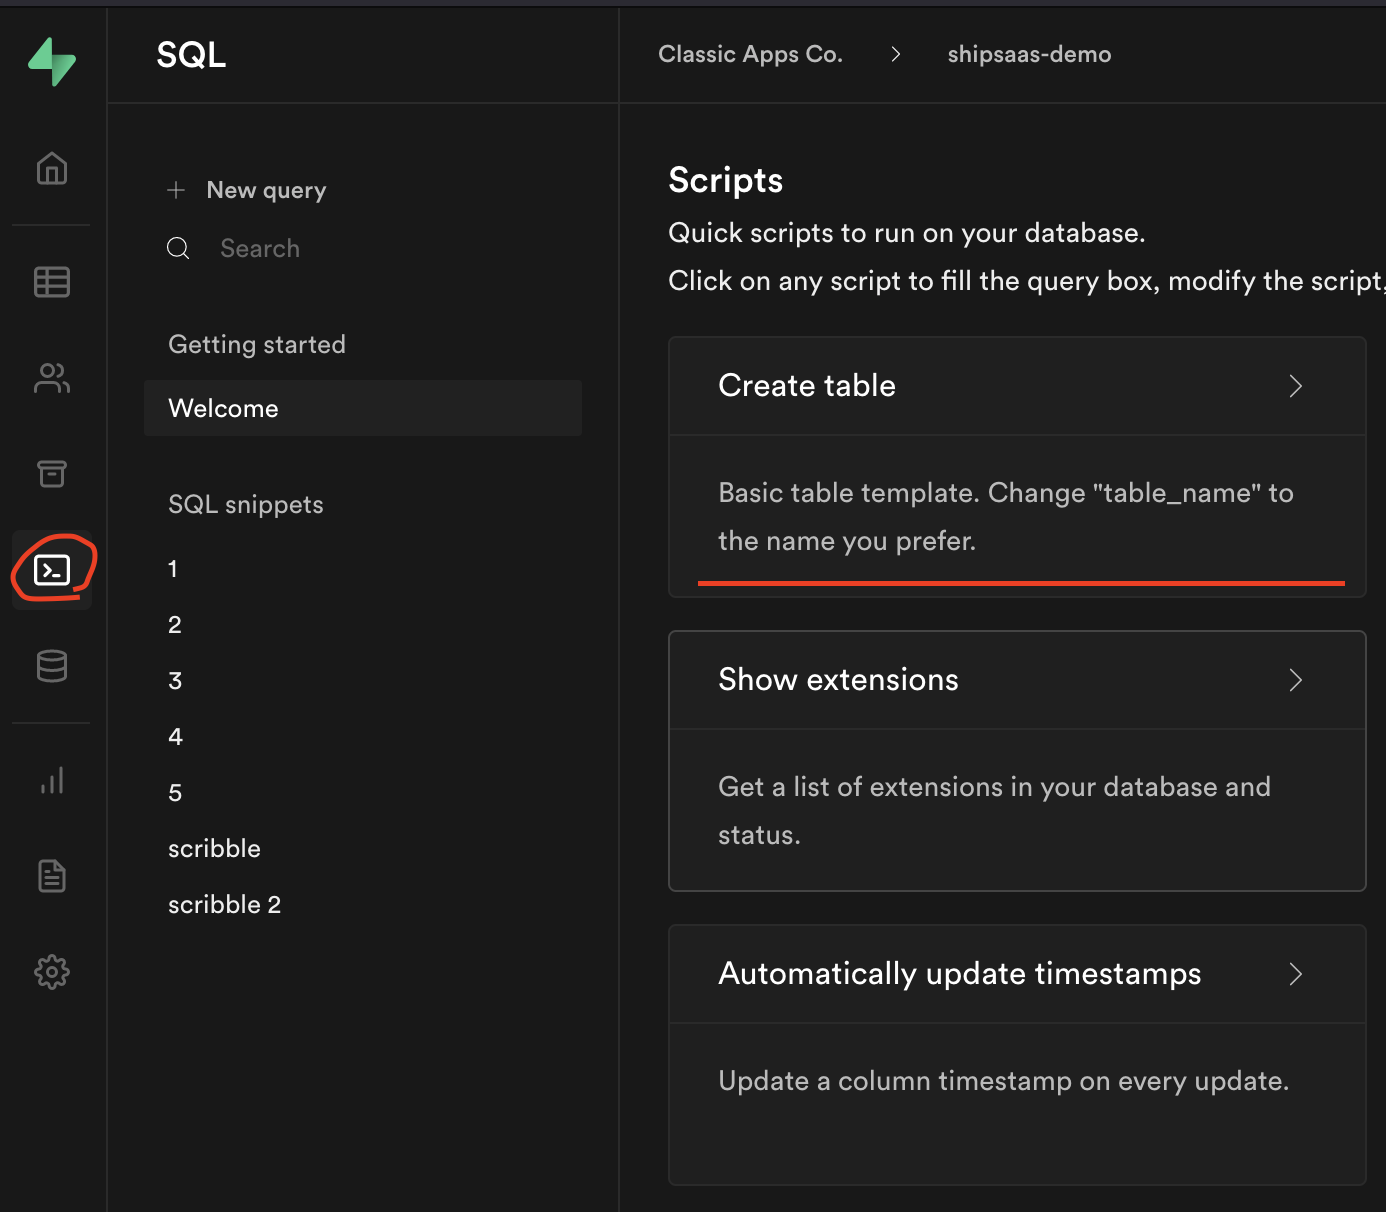
This will open a SQL editor with a demo SQL script. Replace the demo script with the following SQL script to create the bikes table:
CREATE TABLE bikes (
  id bigint GENERATED BY DEFAULT AS IDENTITY PRIMARY KEY,
  inserted_at timestamp with time zone DEFAULT timezone('utc'::text, now()) NOT NULL,
  updated_at timestamp with time zone DEFAULT timezone('utc'::text, now()) NOT NULL,
  make text,
  model text,
  production_year int
);
Click the "RUN" button in the bottom right-hand corner to run the script. A new database table, called bikes, will be created.
Now that you have created the bikes table, your Next.js application can be expanded to read and write data to your Supabase database. To connect to Supabase from your Next.js app, 2 values are required:
- Supabase anon public key
- Supabase URL
To copy these values navigate to the API settings page of your Supabase project.

Copy your Supabase anon public key and URL and add it to the .env.local file in your Next.js project.
NEXT_PUBLIC_SUPABASE_URL=your-supabase-url
NEXT_PUBLIC_SUPABASE_ANON_KEY=your-supabase-anon-public-key
This demo Next.js app will be structured as follow - a list of all existing bikes will be shown on the home page. When you click on a specific bike, you will navigate to the "Bike details" page. From the "Bike details" page you will be able to navigate to the "Edit bike" page to edit an existing bike or delete a bike by clicking the "Delete bike" button. From the home page you will also be able to navigate to the "New bike" page to create a new bike.
First, create a supabase-client.js file in your root directory. Add the following code to create your Supabase client. This client will be used to interact with the Supabase API.
import { createClient } from '@supabase/supabase-js';

export const supabase = createClient(
  process.env.NEXT_PUBLIC_SUPABASE_URL,
  process.env.NEXT_PUBLIC_SUPABASE_ANON_KEY
);
Customize the index.js page in your pages directory to query all the bikes and display these items in a list.
import Link from 'next/link'
import { supabase } from '../supabase-client'

export default function Home({ bikes }) {
  return (
    <>
      <h1>Bikes</h1>
      <ul>
        {
          (bikes || []).map(bike =>
            <li key={bike.id}>
              <a href={`/bikes/${bike.id}`}>{bike.make} - {bike.model}</a>
            </li>
          )
        }
        <li>
          <Link href='/bikes/new'>
            <a>+ New bike</a>
          </Link>
        </li>
      </ul>
    </>
  )
}

export const getServerSideProps = async (context) => {
  // Query all bikes
  const { data: bikes, error } = await supabase.from('bikes').select();

  if (error) {
    // Return 404 response.
    // No bikes found or something went wrong with the query
    return {
      notFound: true,
    }
  }

  return {
    props: {
      bikes,
    }
  }
}
Besides the default index.js page, create a bikes sub-directory in your pages directory and add three new pages:
new.js- a page to create a new bike[id]/edit.js- a page to edit an existing bike[id]/index.js- a page to view the details of an existing bike
To be able to re-use the same <form> component to create and edit a bike, create a bike-form.js component. This component will be re-used on both the "New bike" and "Edit bike" pages.
export default function BikeForm({
  bikeMake,
  onMakeChange,
  bikeModel,
  onModelChange,
  bikeYear,
  onYearChange,
  onSubmit
}) {
  return (
    <form onSubmit={onSubmit}>
      <label>Make
        <input
          name='make'
          value={bikeMake}
          placeholder='Make'
          onChange={onMakeChange}
        />
      </label>

      <label>Model
        <input
          name='model'
          value={bikeModel}
          placeholder='Model'
          onChange={onModelChange}
        />
      </label>

      <label>Production year
        <input
          name='year'
          value={bikeYear}
          placeholder='Year'
          onChange={onYearChange}
        />
      </label>

      <button type='submit'>Save bike</button>
    </form>
  )
}
The "New bike" (new.js) page renders the bike-form.js component and creates a new bike when the form is submitted. The following code is used to insert a new bike entry in the bikes table in your database:
await supabase.from('bikes').insert({
  make: bikeMake,
  model: bikeModel,
  production_year: bikeYear,
})
The complete new.js page looks like this:
import { useRouter } from 'next/dist/client/router';
import { useState } from 'react';
import BikeForm from '../../components/bike-form';
import { supabase } from '../../supabase-client';

export default function NewBike() {
  const [bikeMake, setBikeMake] = useState('')
  const [bikeModel, setBikeModel] = useState('')
  const [bikeYear, setBikeYear] = useState('')
  const router = useRouter();

  return (
    <>
      <h1>Create new bike</h1>
      <BikeForm
        bikeMake={bikeMake}
        onMakeChange={(evt) => setBikeMake(evt.target.value)}
        bikeModel={bikeModel}
        onModelChange={(evt) => setBikeModel(evt.target.value)}
        bikeYear={bikeYear}
        onYearChange={(evt) => setBikeYear(evt.target.value)}
        onSubmit={async (evt) => {
          evt.preventDefault();
          await supabase
            .from('bikes')
            .insert({
              make: bikeMake,
              model: bikeModel,
              production_year: bikeYear,
            });

          router.push('/')
        }}
      />
    </>
  )
}
Similarly, the "Edit bike" page renders the bike-form.js component, but fetches the existing bike before the page renders to provide the initial values.
The [id]/edit.js page looks like this:
import { useRouter } from 'next/dist/client/router';
import { useState } from 'react';
import { supabase } from '../../../supabase-client';
import BikeForm from '../../../components/bike-form';

export default function EditBike({ bike }) {
  const [bikeMake, setBikeMake] = useState(bike.make)
  const [bikeModel, setBikeModel] = useState(bike.model)
  const [bikeYear, setBikeYear] = useState(bike.production_year)
  const router = useRouter();

  return (
    <>
      <h1>Edit bike</h1>
      <BikeForm
        bikeMake={bikeMake}
        onMakeChange={(evt) => setBikeMake(evt.target.value)}
        bikeModel={bikeModel}
        onModelChange={(evt) => setBikeModel(evt.target.value)}
        bikeYear={bikeYear}
        onYearChange={(evt) => setBikeYear(evt.target.value)}
        onSubmit={async (evt) => {
          evt.preventDefault();
          await supabase
            .from('bikes')
            .update({
              make: bikeMake,
              model: bikeModel,
              production_year: bikeYear,
            })
            .match({
              id: bike.id,
            });

          router.push('/')
        }}
      />
    </>
  )
}

export const getServerSideProps = async (context) => {
  // Query the bike by id
  const { data: bike, error } = await supabase
    .from('bikes')
    .select('*')
    .eq('id', context.query.id)
    .single()

  if (error) {
    return {
      notFound: true,
    }
  }

  return {
    props: {
      bike
    }
  }
}
A bike entry is updated using the following piece of code (i.e. update the entry where the id column matches the bike.id value):
await supabase
  .from('bikes')
  .update({
    make: bikeMake,
    model: bikeModel,
    production_year: bikeYear,
  })
  .match({
    id: bike.id,
  })
The "Bike details" page shows all the details of a bike. It also has two buttons - one to delete the bike and one to navigate to the "Edit bike" page to edit the bike details. The "Bike details" ([id]/index.js) page looks like this:
import { useRouter } from 'next/dist/client/router'
import Link from 'next/link'
import { supabase } from '../../../supabase-client'

export default function ViewBike({ bike }) {
  const router = useRouter()
  return (
    <>
      <h1>Bike details</h1>
      <label>Make: {bike.make}</label>

      <label>Model: {bike.model}</label>

      <label>Production year: {bike.production_year}</label>

      <div>
        {/* Navigate to the "Edit bike" page */}
        <Link href={`/bikes/${bike.id}/edit`}>
          <a>Edit bike</a>
        </Link>

        {/* Delete bike */}
        <button onClick={async (evt) => {
          await supabase
            .from('bikes')
            .delete()
            .match({ id: bike.id })

          router.replace('/')
        }}>Delete bike</button>
      </div>
    </>
  )
}

export const getServerSideProps = async (context) => {
  // Query the bike by id
  const { data: bike, error } = await supabase
    .from('bikes')
    .select('*')
    .eq('id', context.query.id)
    .single()

  if (error) {
    return {
      notFound: true,
    }
  }

  return {
    props: {
      bike
    }
  }
}
Finally, this piece of code is used to delete a bike where the id column matches the bike.id value:
await supabase.from('bikes').delete().match({ id: bike.id })
And there you have it - a basic Next.js application that can read and write data to a database table in Supabase. To view the code of the entire demo app check out this repository. If you want to learn more about Supabase you can check out the official Supabase docs.